|
Removal, Installation of
Parts
and Machining the Head
Removal of the valves guides can be done in several ways. But first, remove the
carbon from the port side of the valve guide before removal...leaving the
carbon on can rip aluminum with it on the way out.
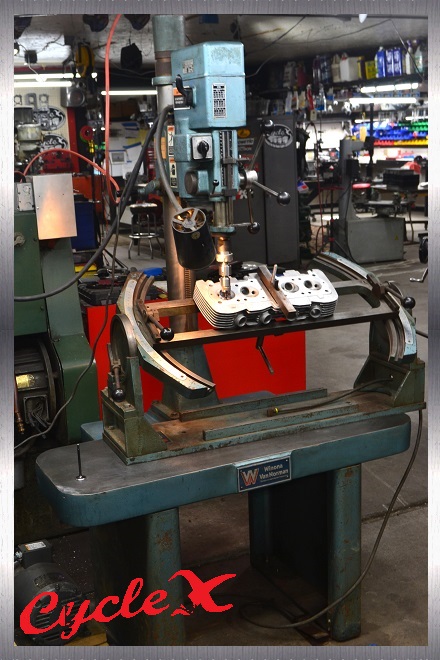
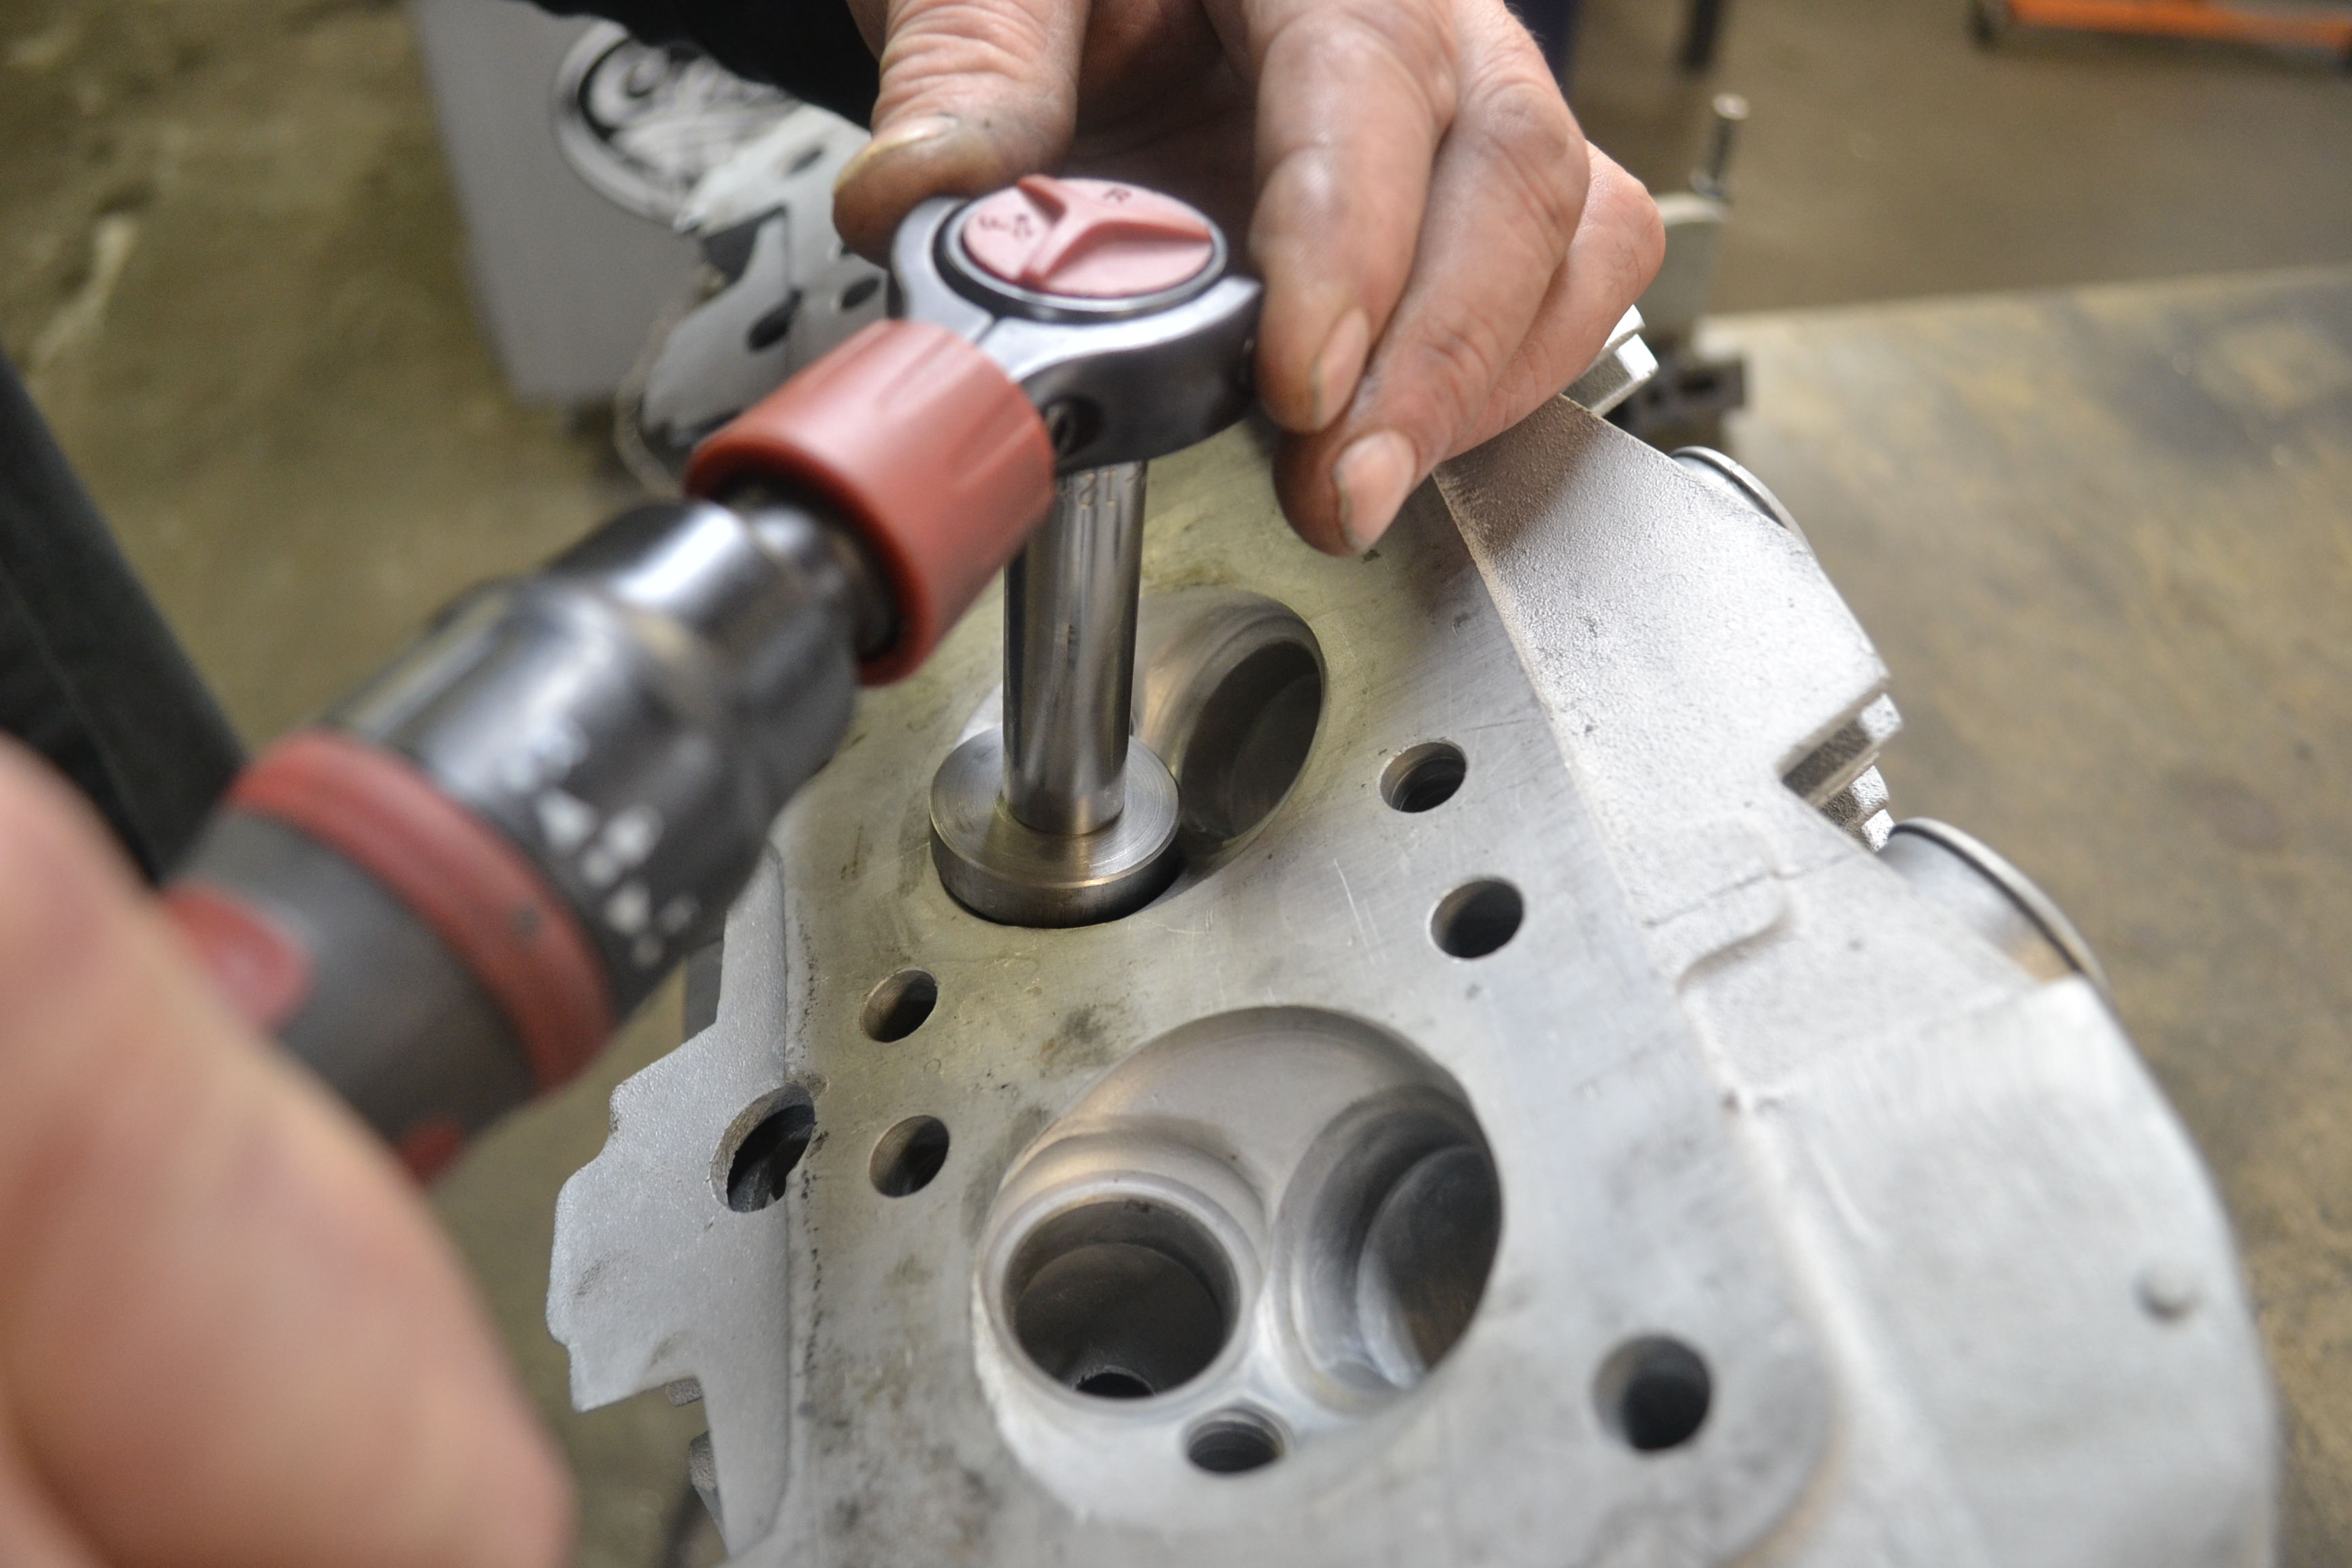
This photo shows the budget or old way to
remove valve guides.
Heat the head. (Approx. 300 degrees)
Drift the guide out with a bit of spray lubricant.
You can make a mental note of how easy the guide drifted out. You can measure
the new guide and the guide bore to be accurate.
But, a virgin head with the carbon removed will generally be fine to install the
new guides.
So, with the new guides in the freezer and the head heated to approx 300 degrees, install the guides. (Reverse the removal procedure)
The bad news!
Doing the above budget mentioned procedure can case a few problems if you are
unlucky in life.
The guides can go in a bit off, cocked or not follow the same path causing more
work when cutting the seats when doing a valve job.
Secondly, when installing the guides with a hammer and drift the valve guides
can distort on the inside, kinda making an "S" bent looking bore. (Especially
bronze guides)
The reaming process might be more of a struggle, inaccurate and making your
valve job procedure an adventure.
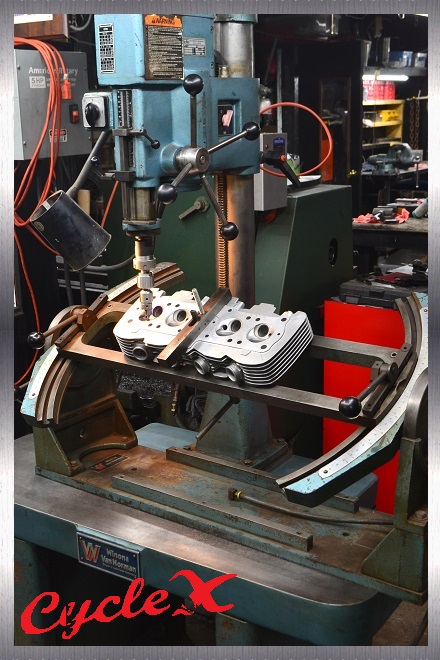
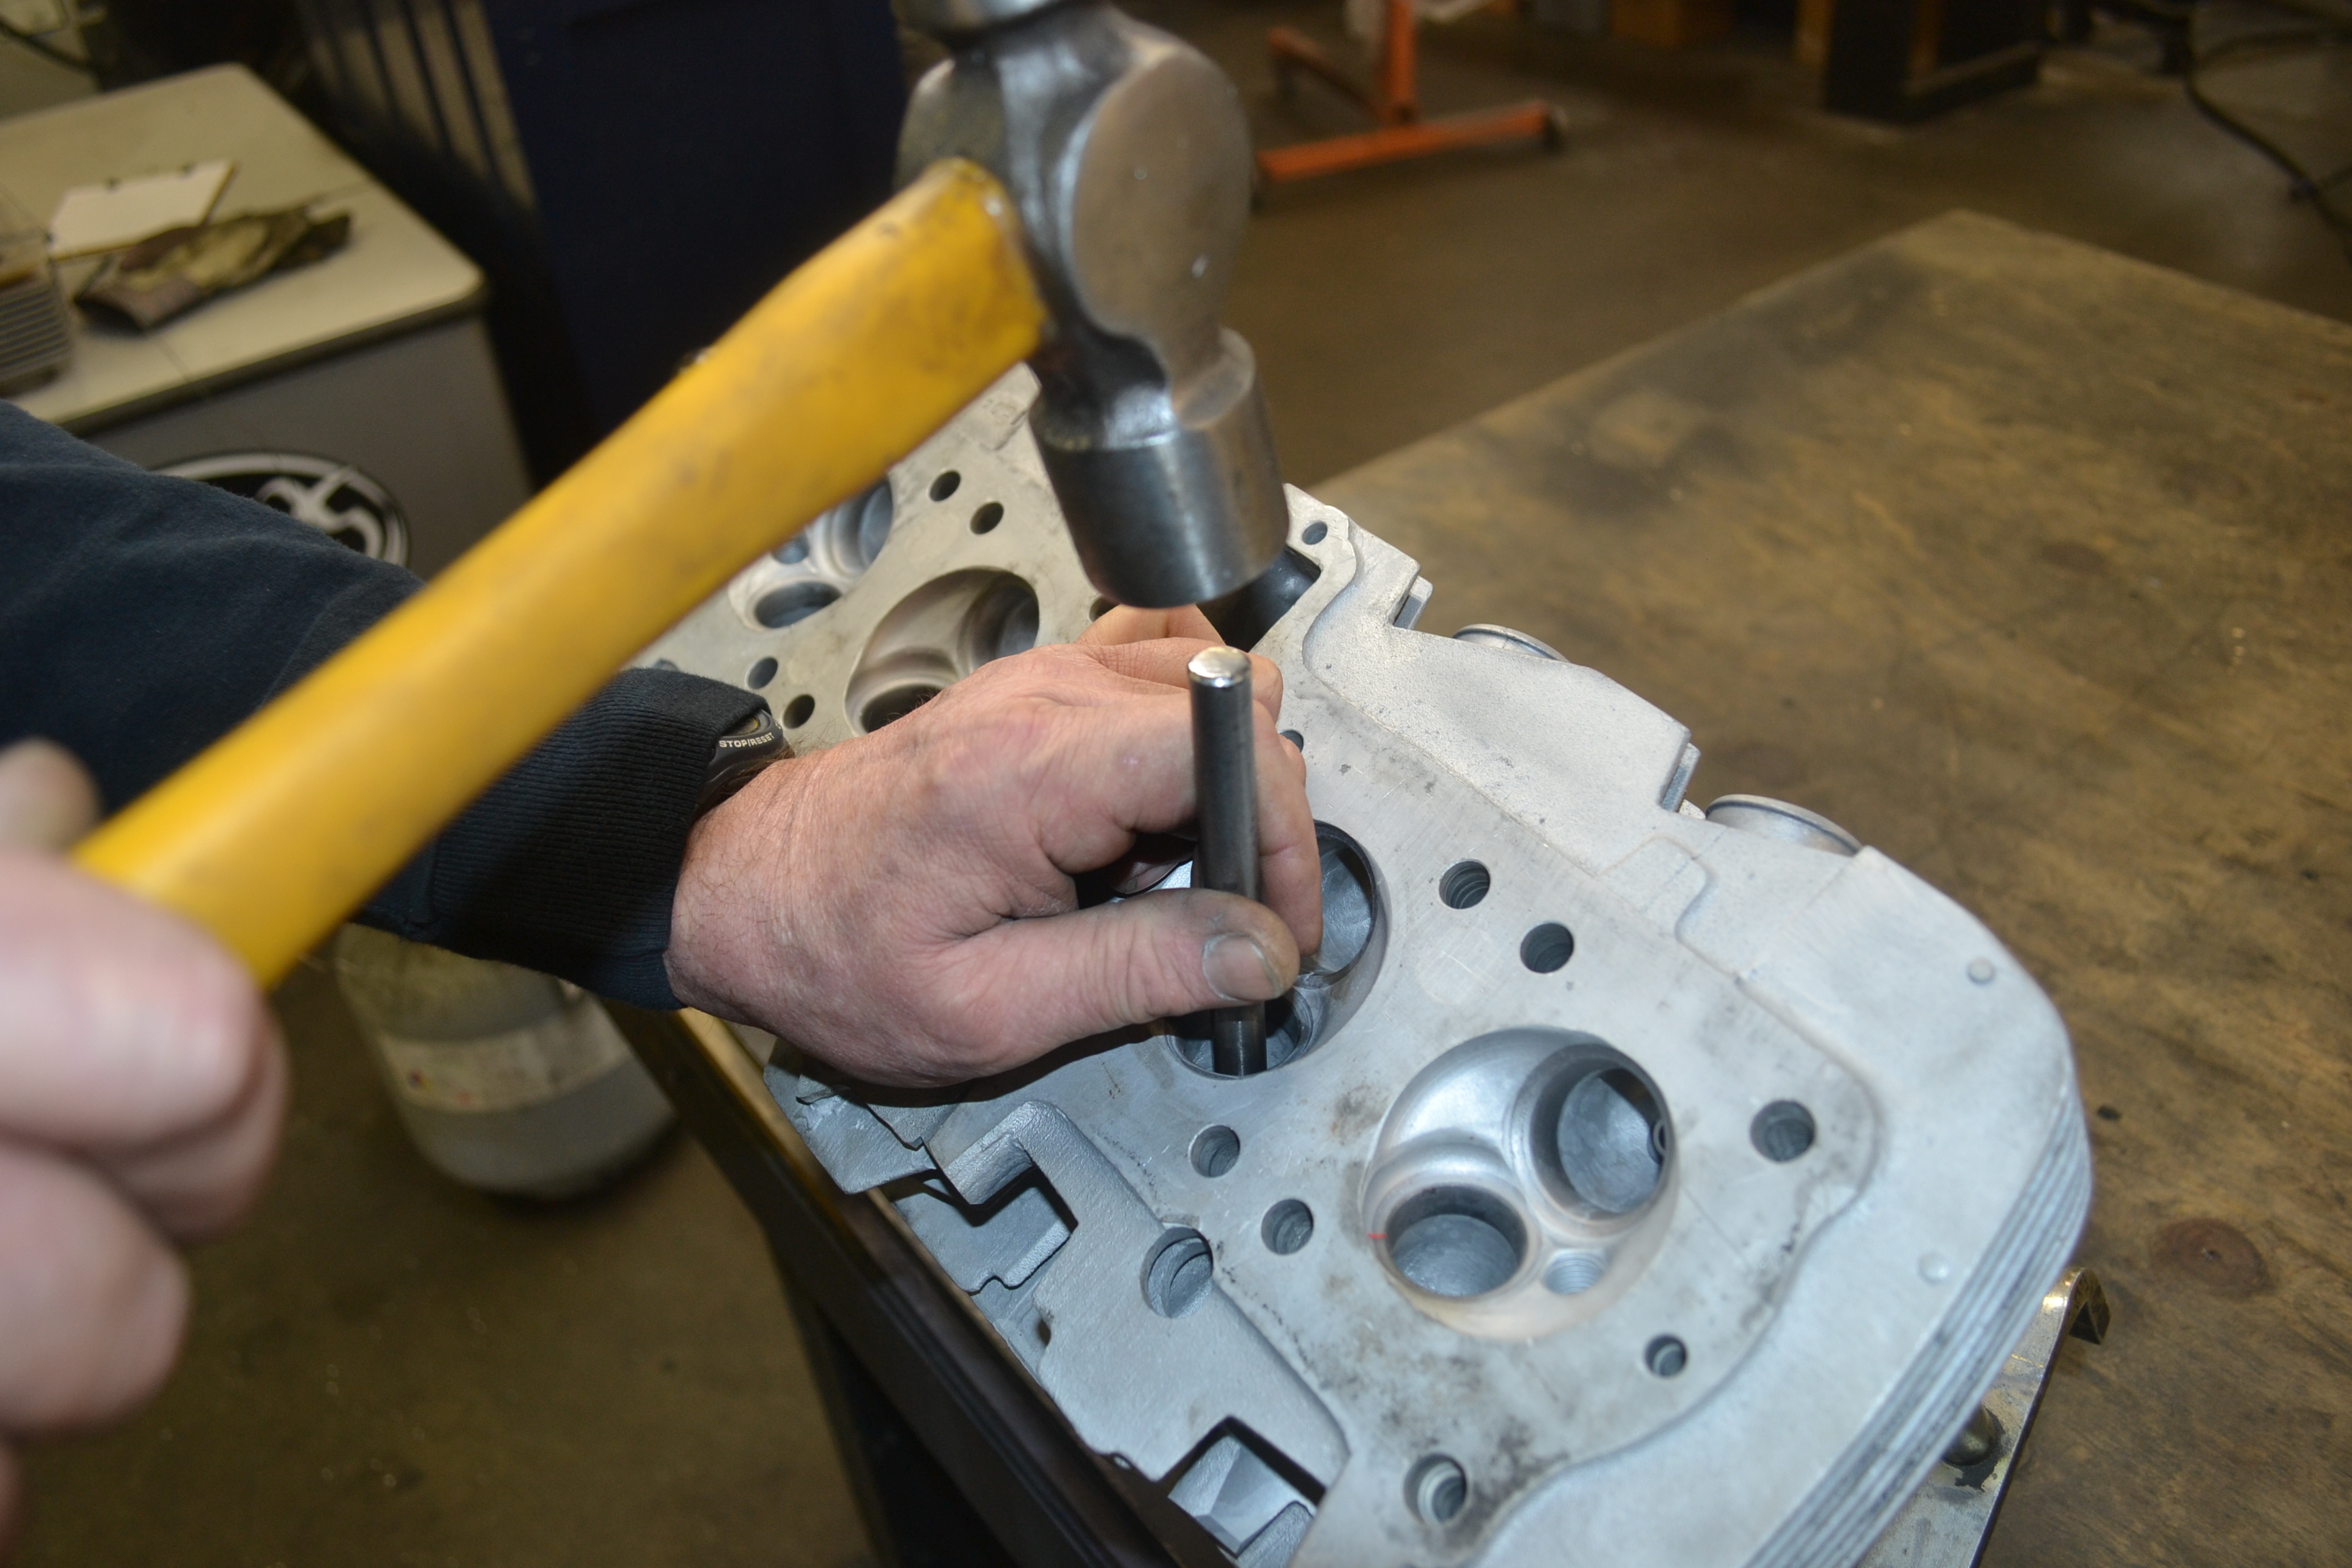
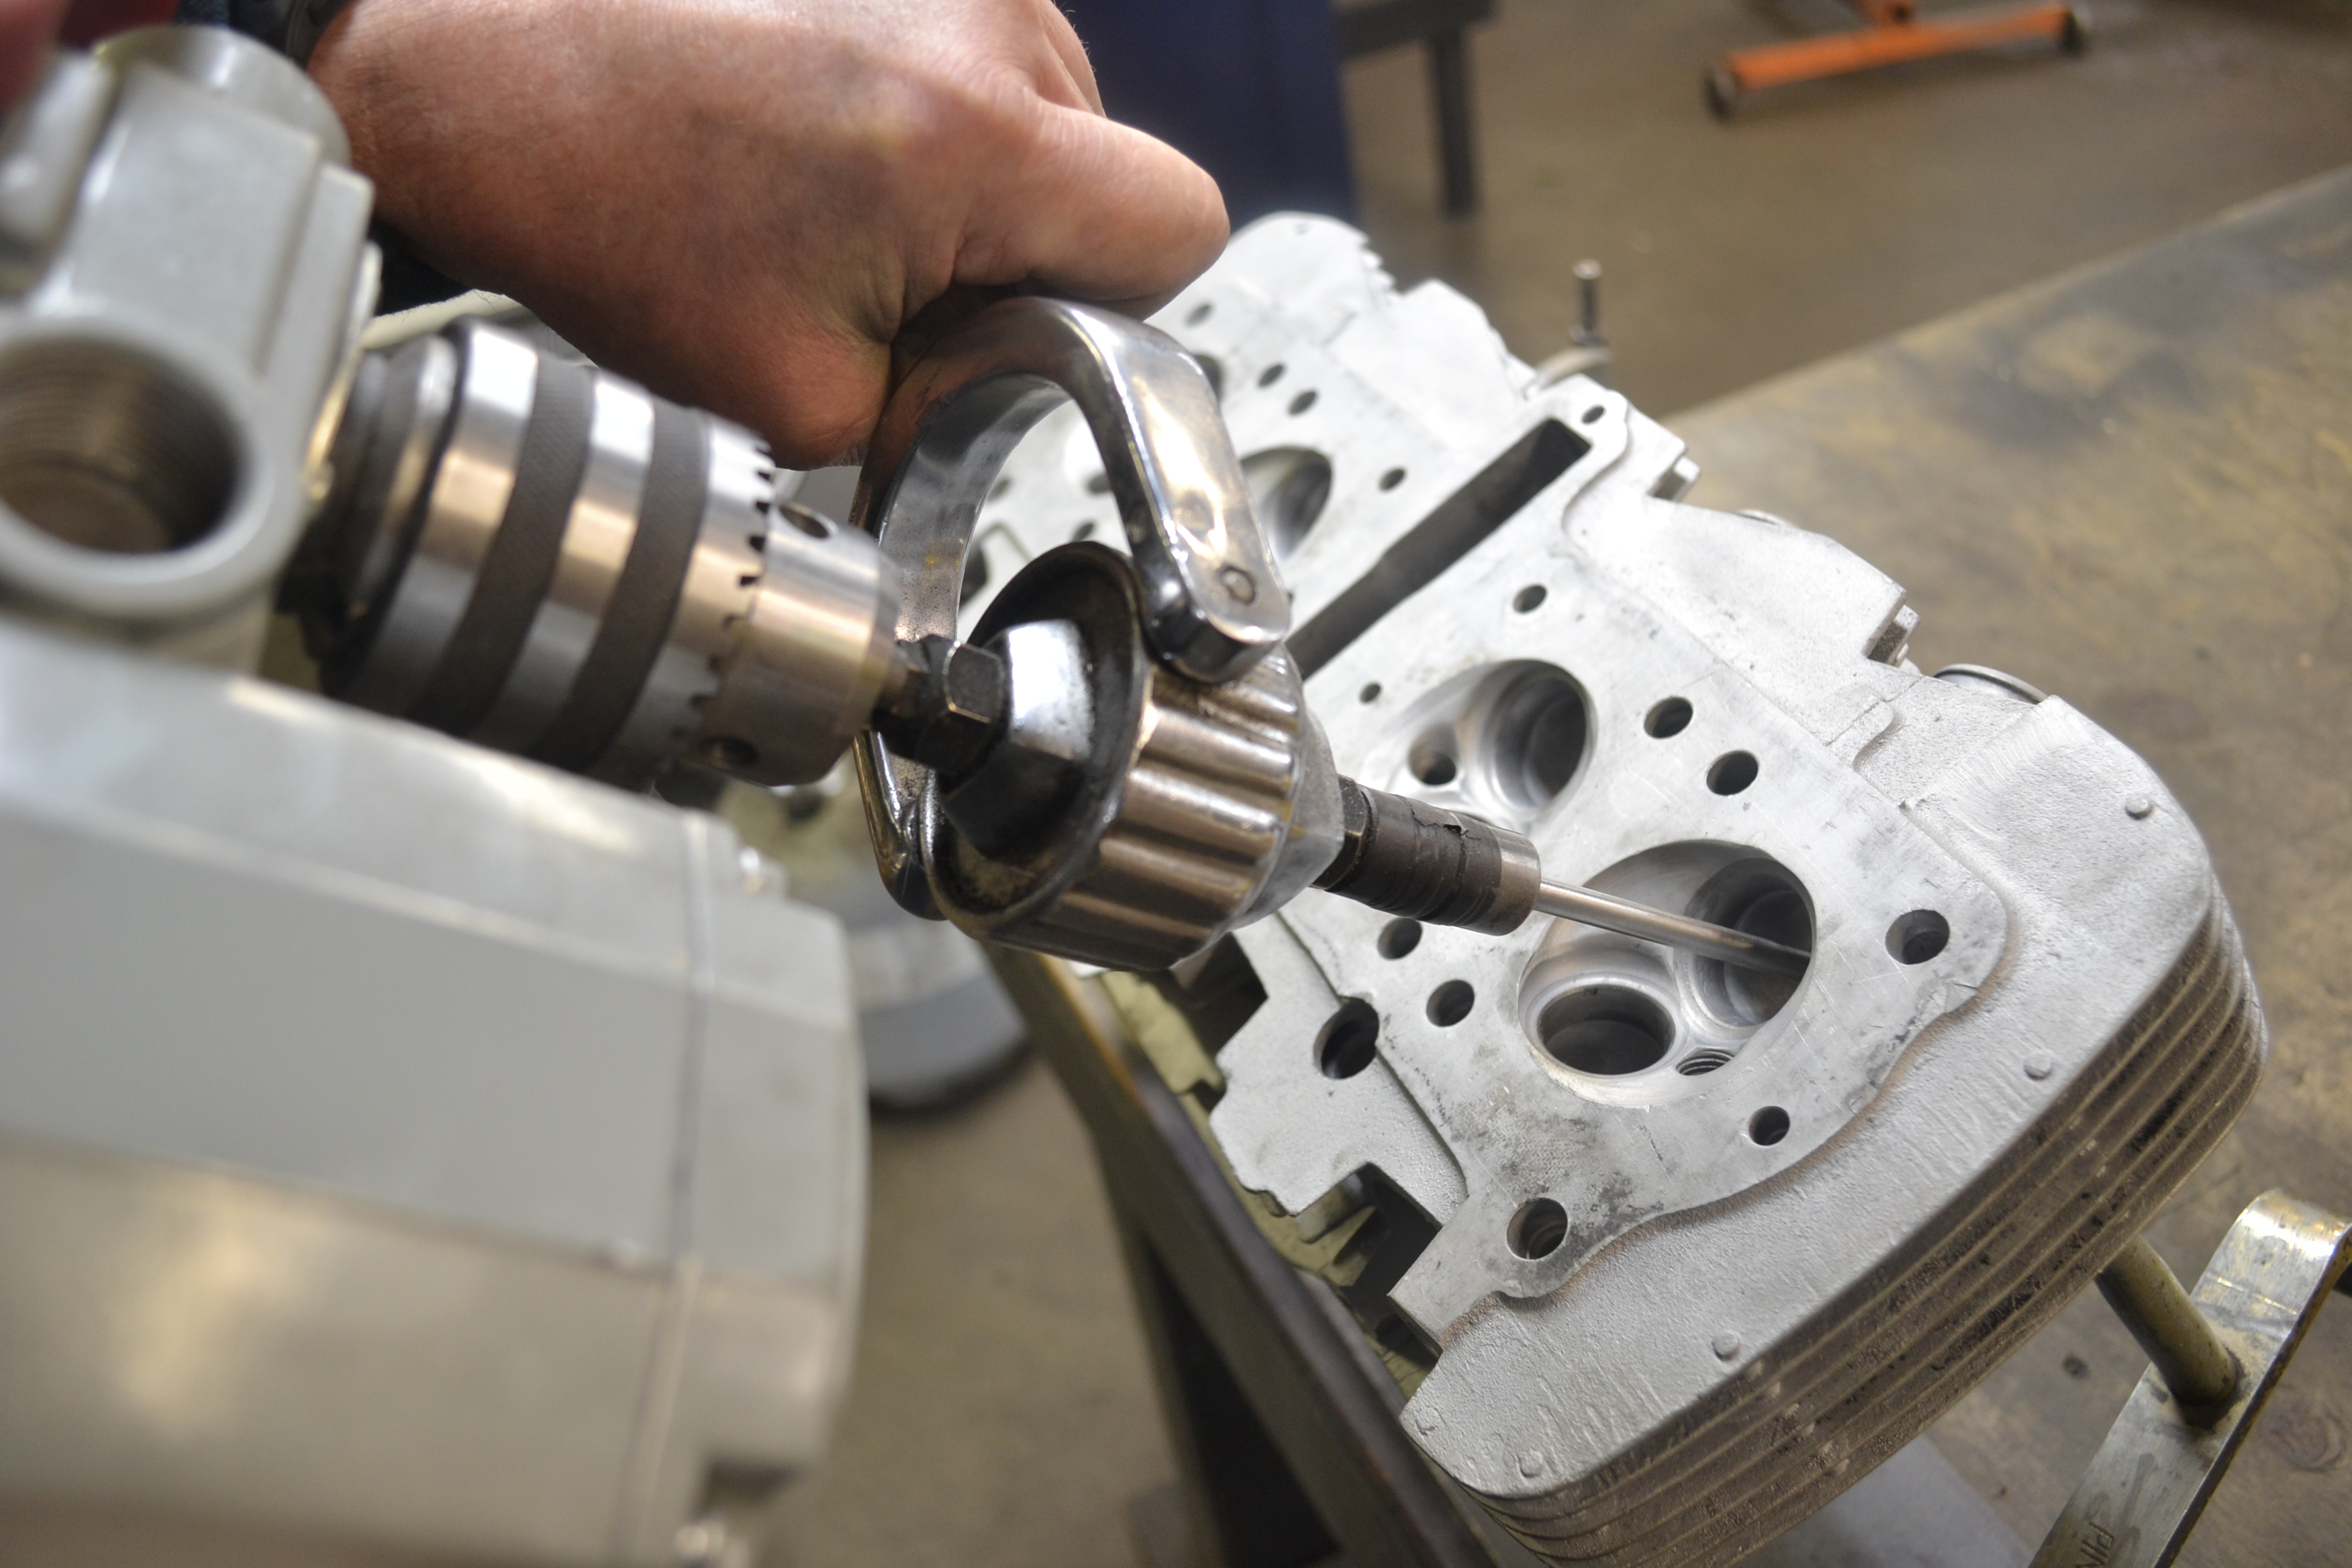
Preferred Method:
This photo shows the preferred method to remove
and installing valve guides.
Our tool is installed and uses and 45 degree machined valve seat tool and
machined shaft thru the center of the guide to pull the guide out perfectly.
When installing the guides using this tool the guides will be remarkably
straight leaving your valve job a breeze. Be aware, any time new guides are
installed a valve job will need to performed.
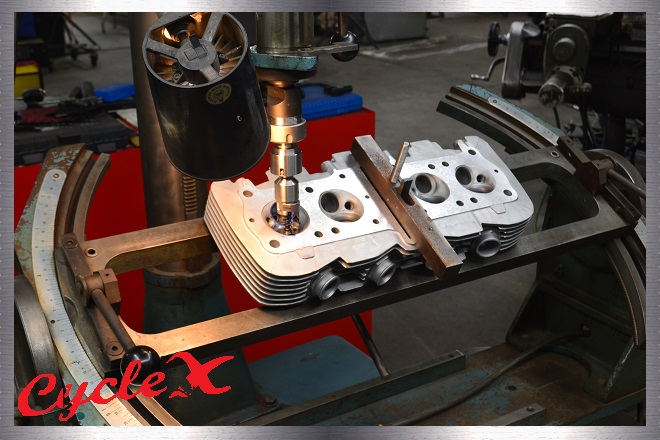
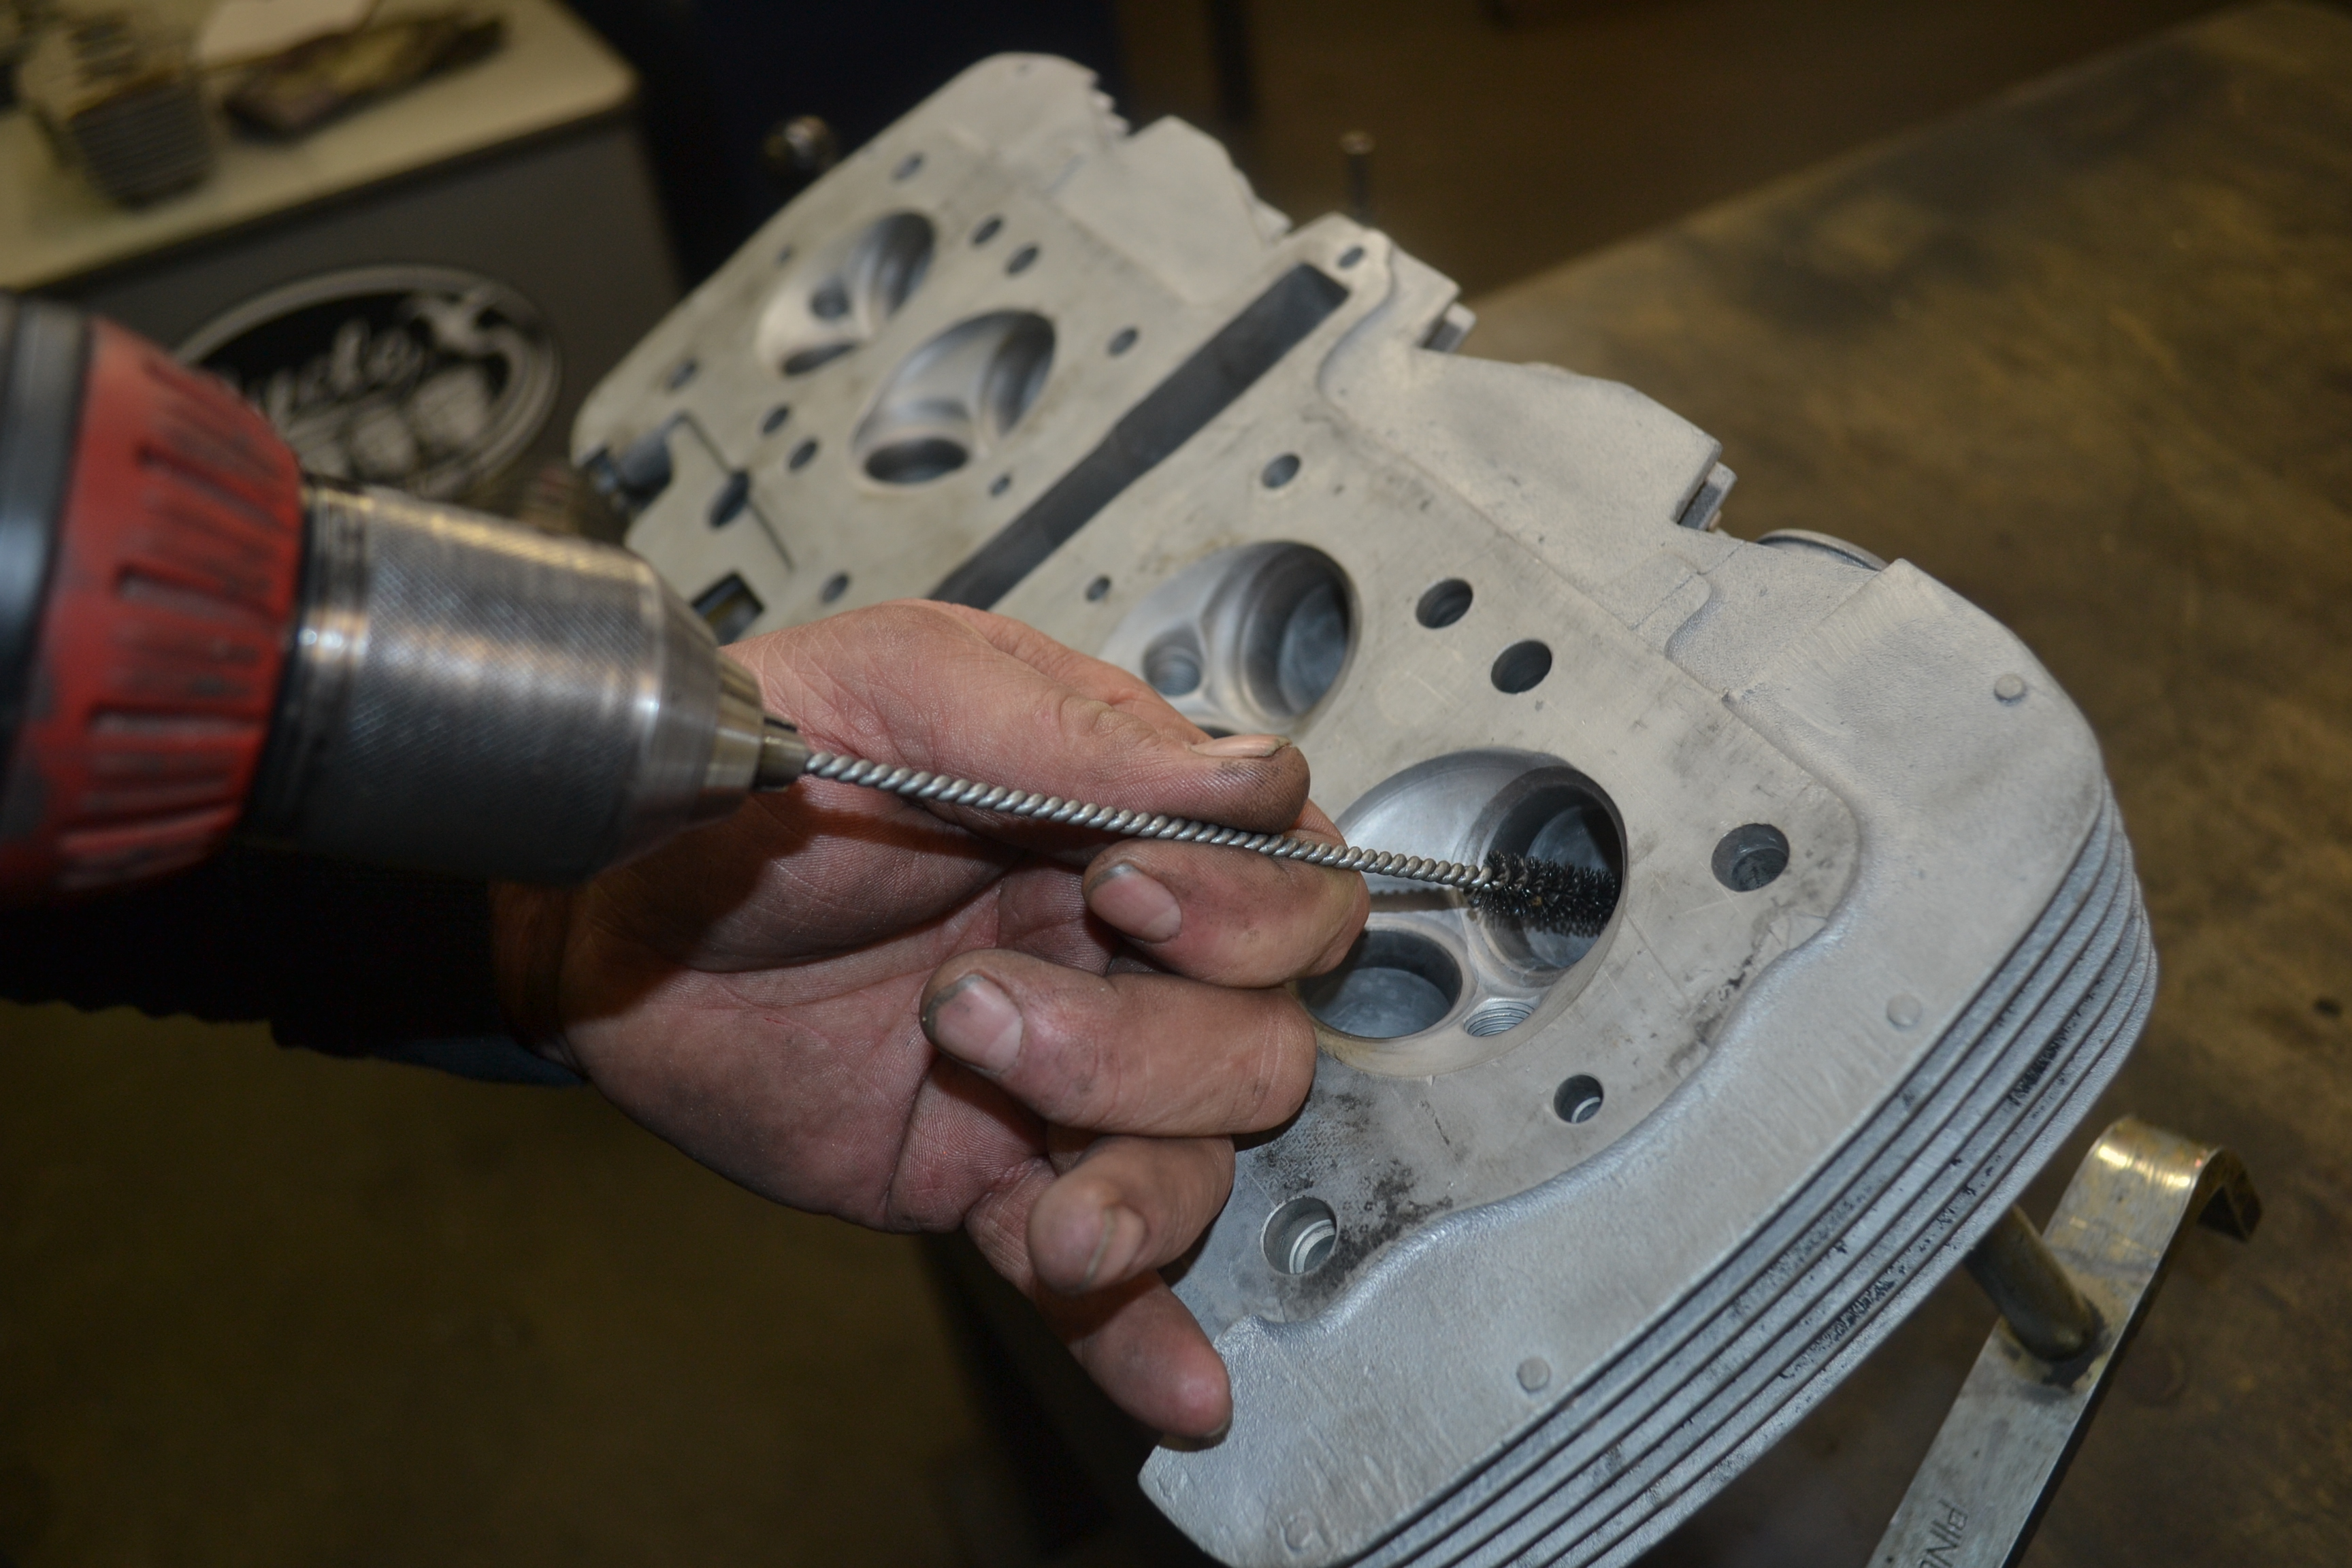
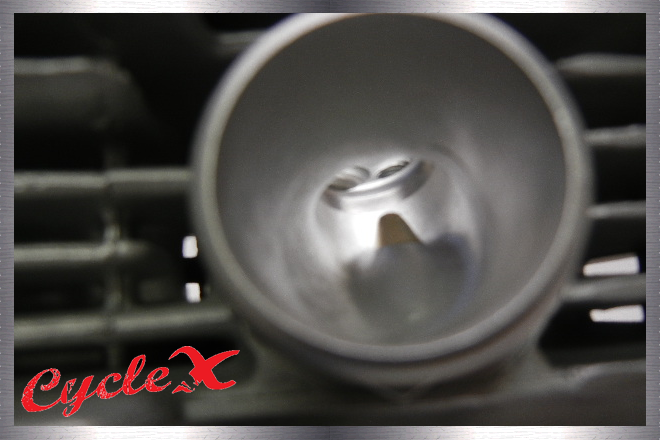
Reaming the Guides:
The above photo shows a method of reaming. Low
speed, Steel or carbide ream, well lubricated, followed up by honing. This
method works great when the guides were installed with the preferred above
mentioned method.
Note: The key to this reaming process is to never let the ream stop turning like
using a hand held holder. (You will ruin the ream)
Some people talk about honing the guides while the head is in a Serti machine. That's another method. Better?
Not really.
It's not the machine or tools, but the user of the machine or tools.
Valve stems vary in diameter. But, a .259 ream and a 6mm guide hone is
generally used. (Goodson has these items)
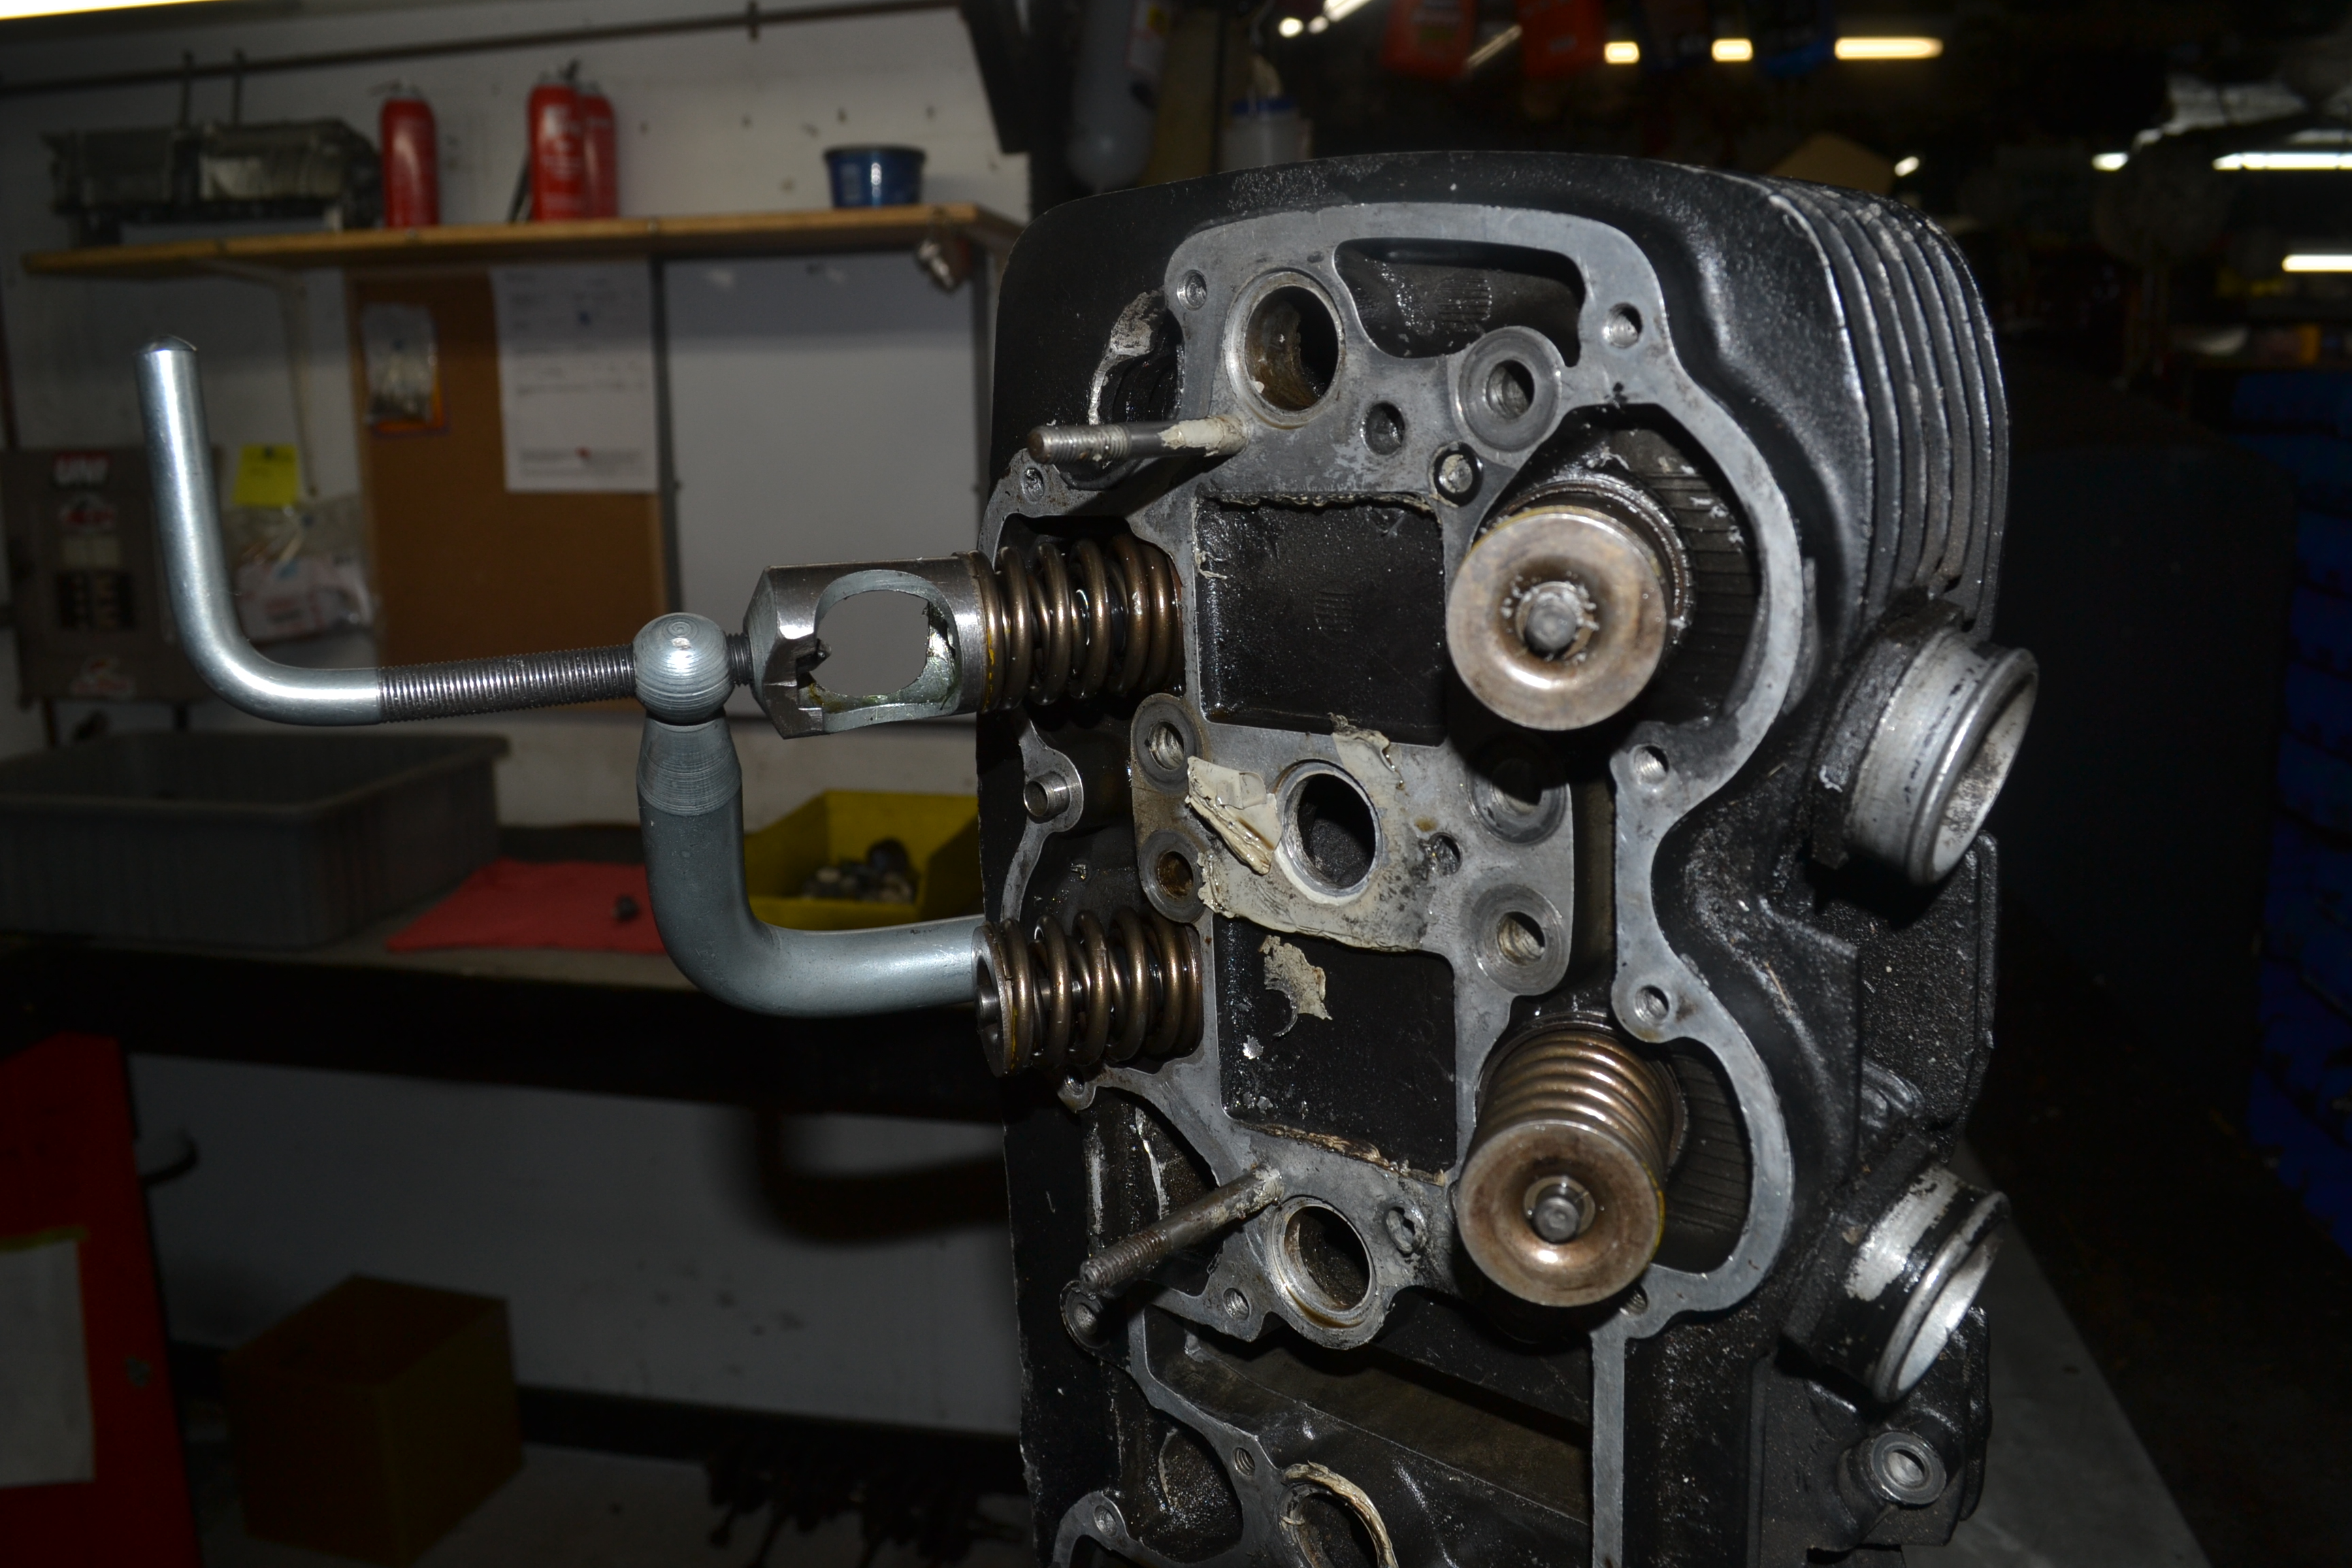
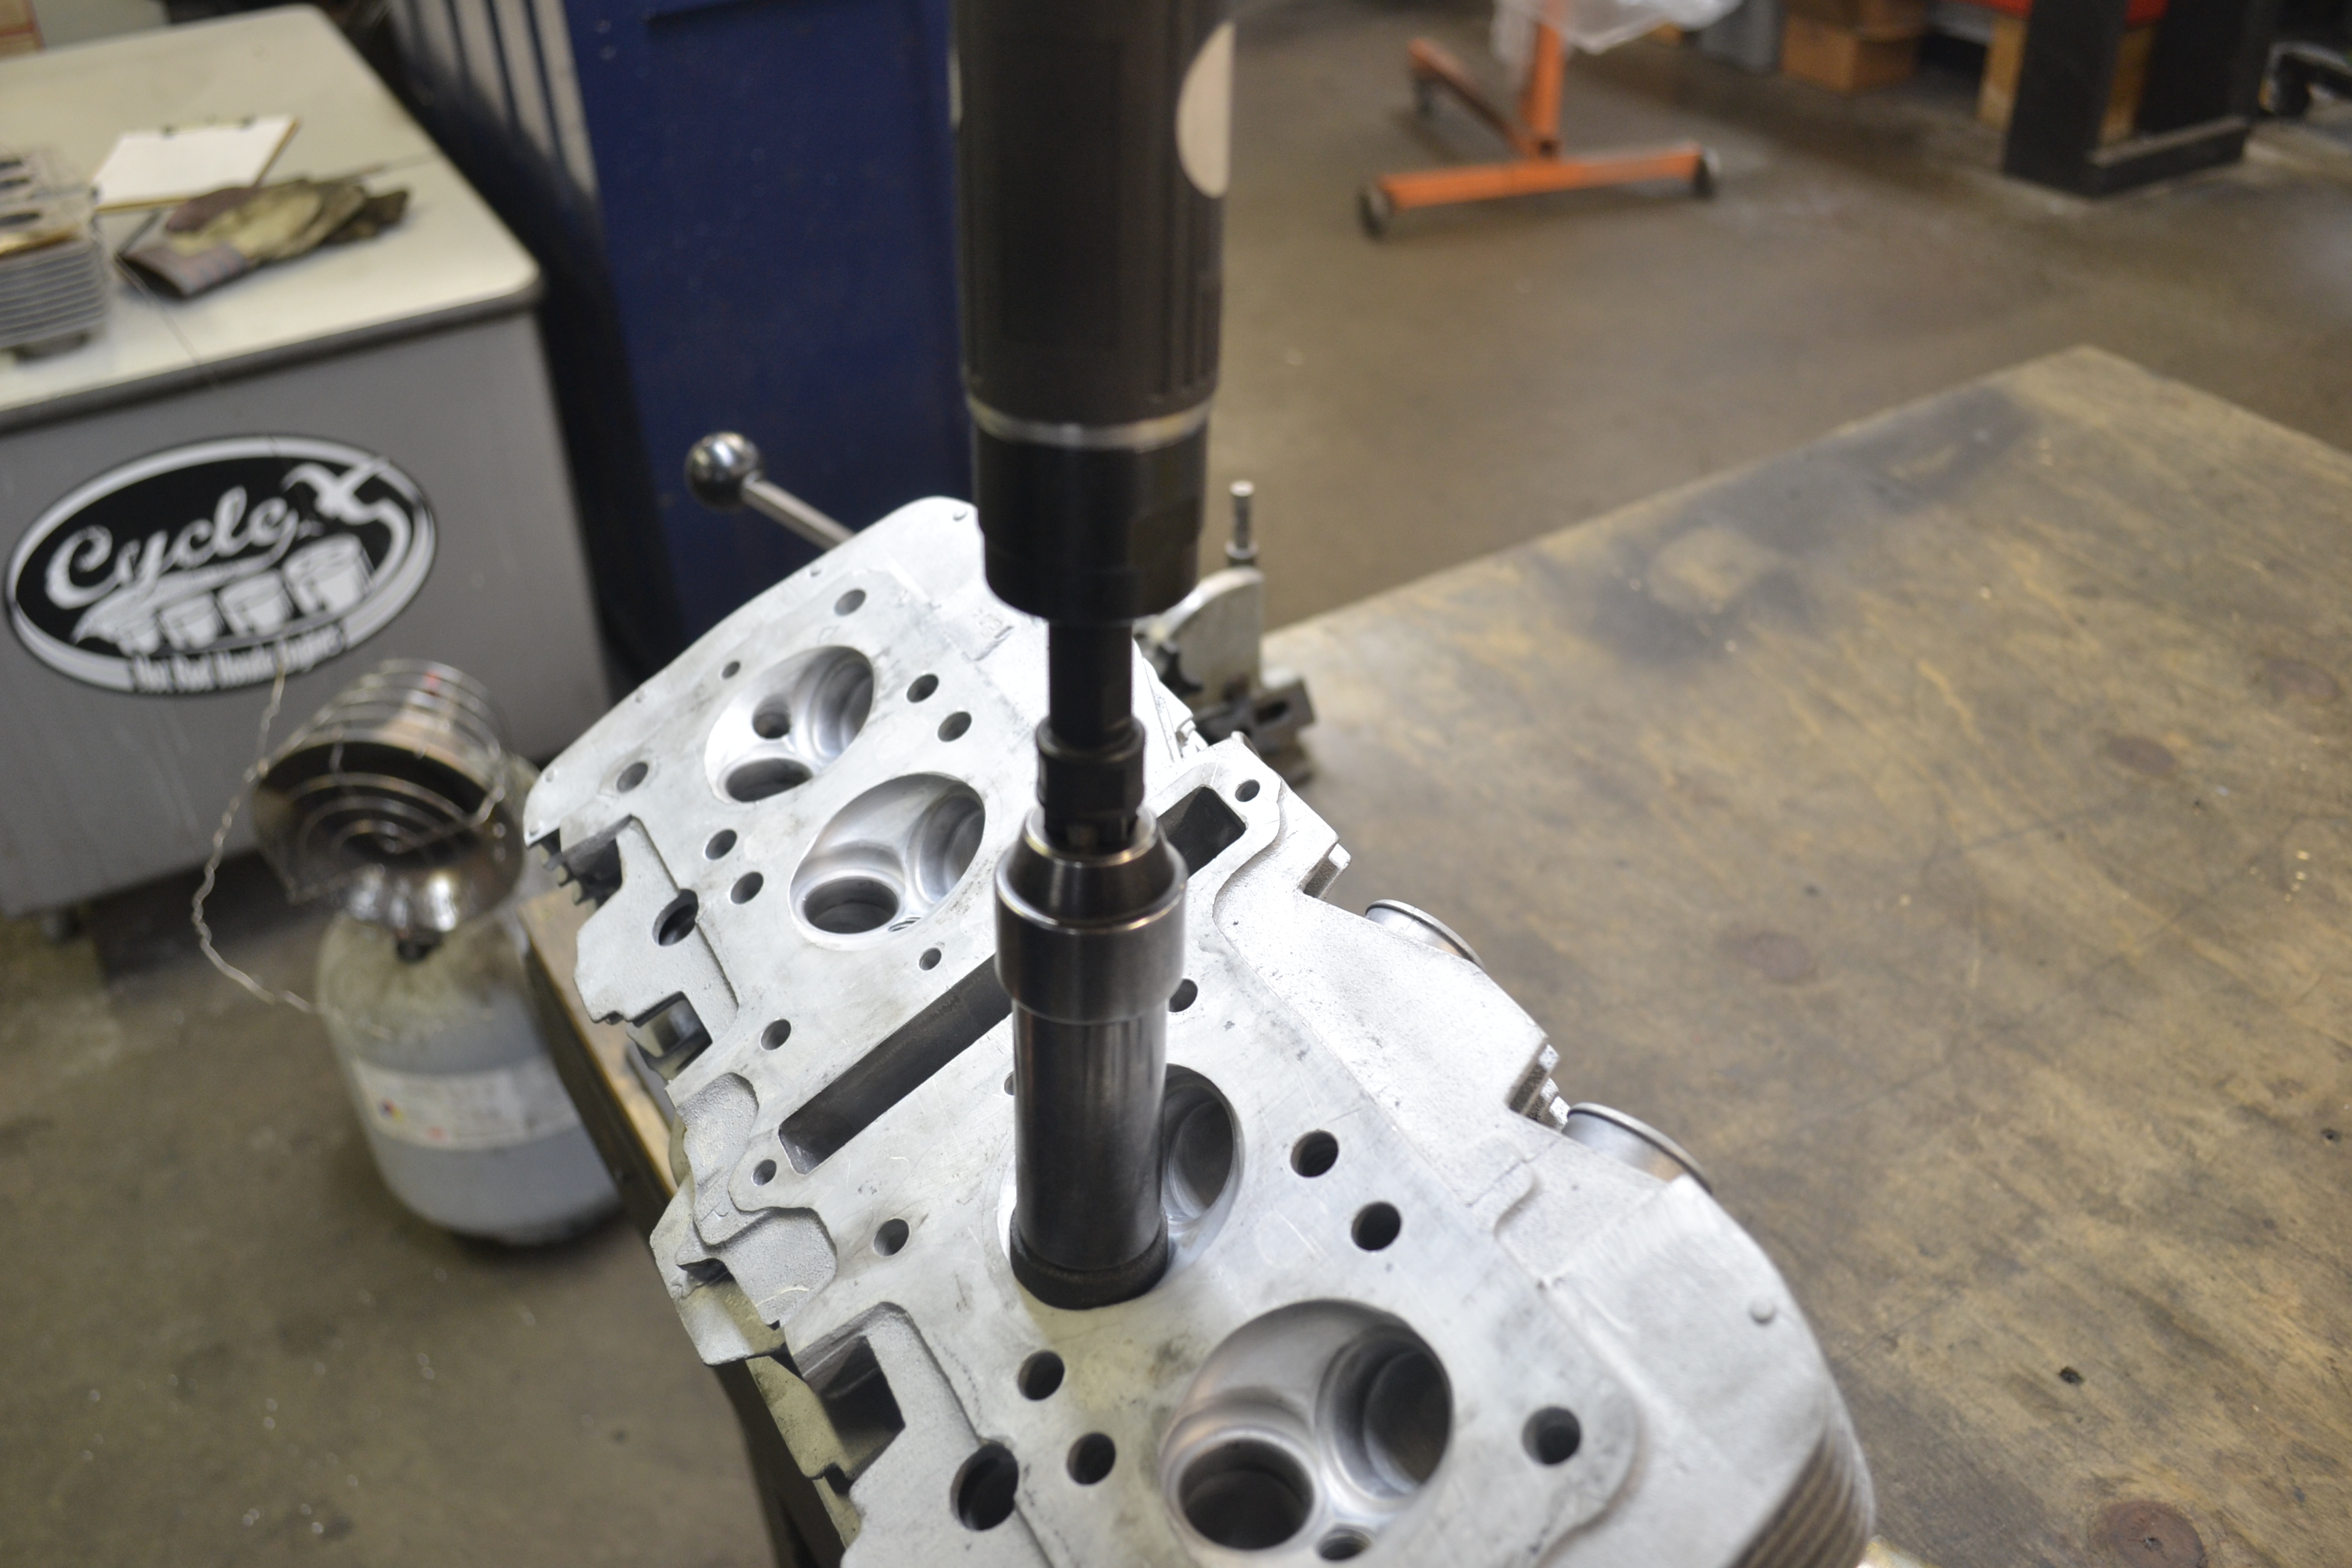
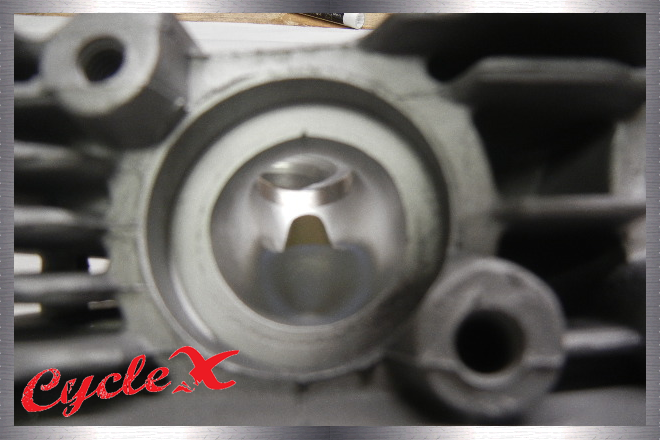
Valve Job:
The above photo shows a method of doing a valve
job. Stones have been used since the beginning of the internal combustion
engine.
Like we said: It's not the machine or tools, Its the user of the machine and
tools.
Serti valve machines are quick and can make each and every valve seat pretty
close to the same. Many people that use Serti machines can struggle with the
intake seats because they are very soft and can leave chatter marks. Many people
in the industry start with Serti machines and follow up with stones for
perfection.
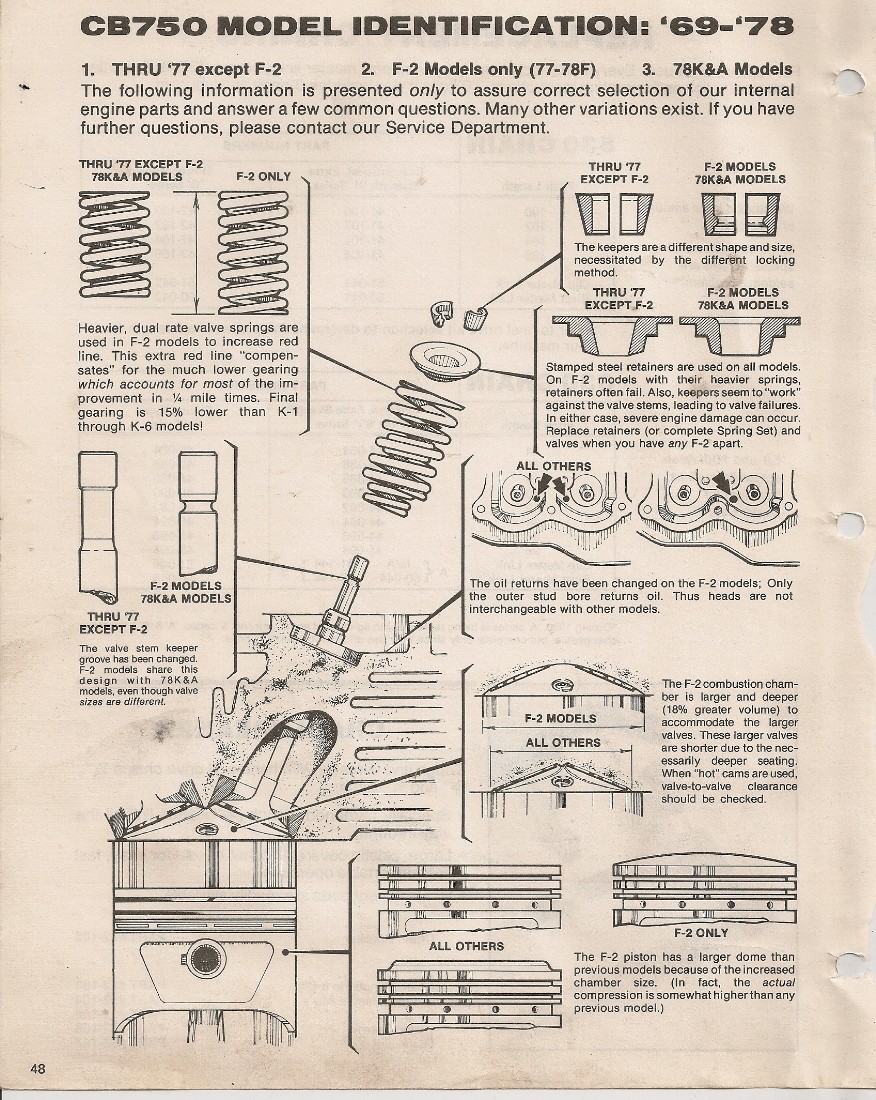
F-2 Drain Hole Modification
As great as Honda is and was...
…a mistake was made.
4 cylinder studs are exposed through the fins in the head which could allow dirt
and road debris to enter the lower end.
Honda tried to correct this problem by putting large “O” rings at the bottom of
the studs to prevent water and debris from entering the motor.
Here is what we do, drain holes are drilled and honed to accept brass tubes.
Brass tubes are pressed into place and problem solved.
Free Performance
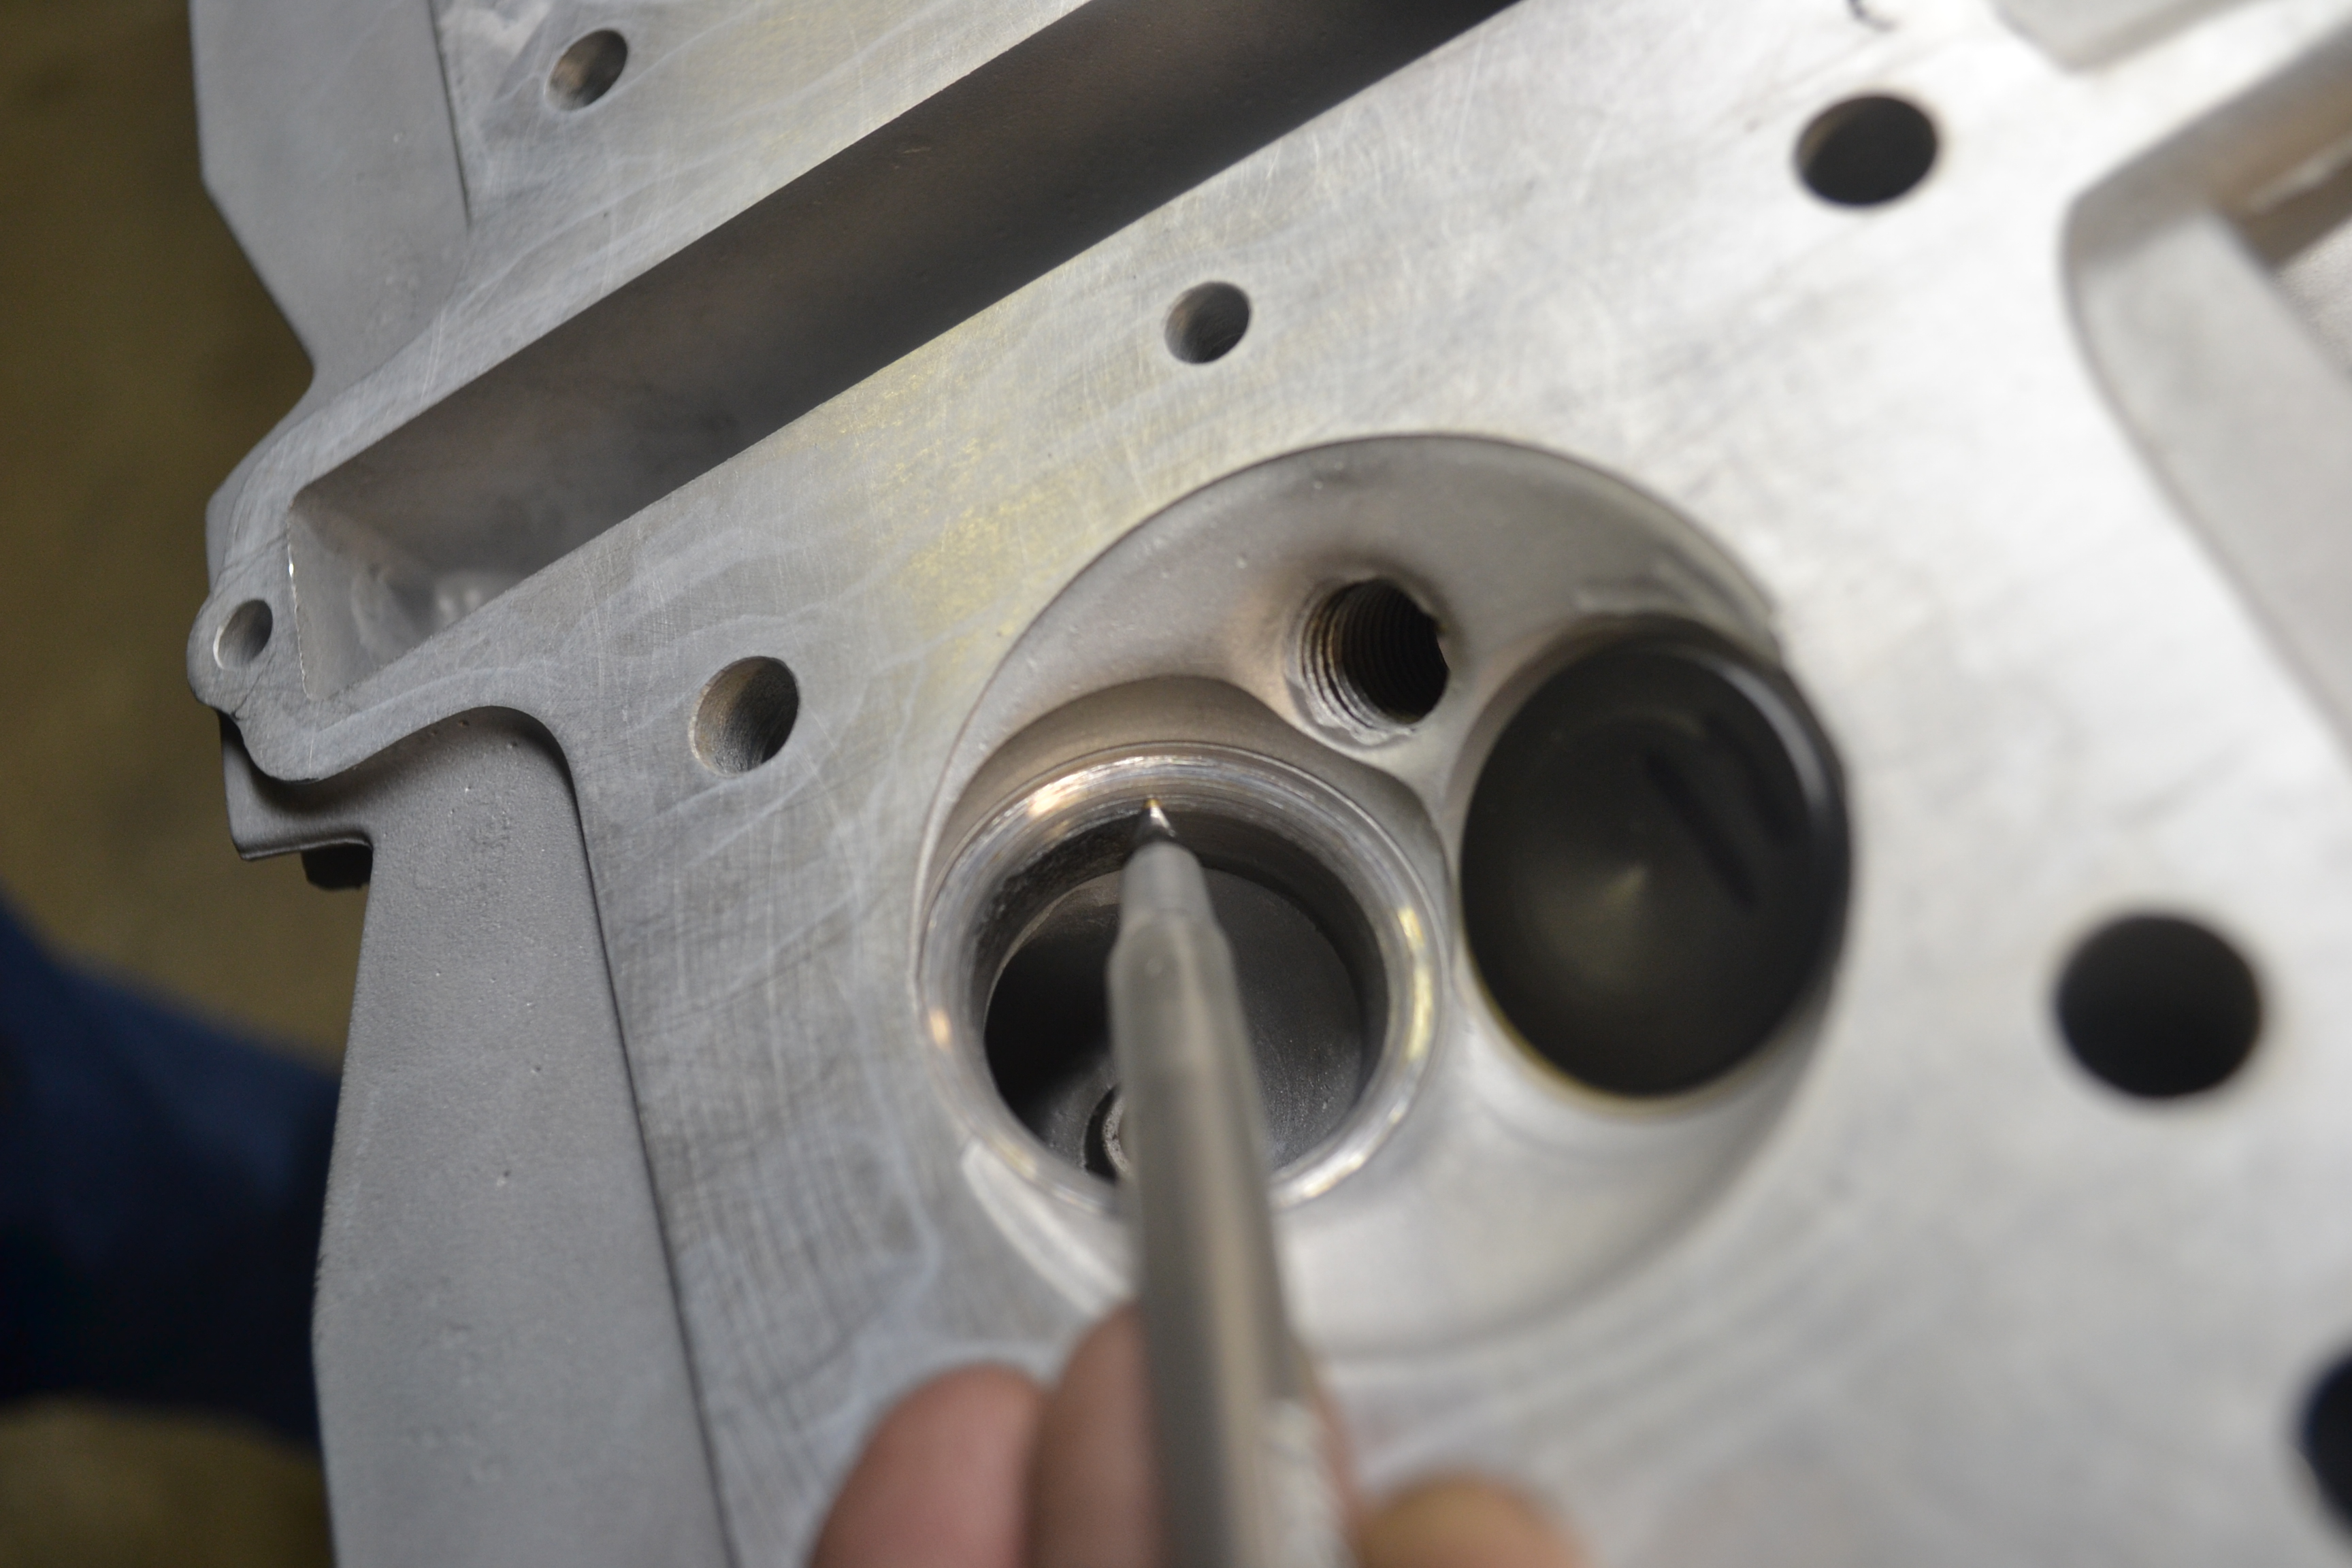
Modification:
These photos show where a bit performance gains can be
found.
The first photo shows a "almost done" valve job. The pen is pointing at
the 60 degree angle used by many. By machining the 60 degree area deeply
(almost the depth of the seat) with a steeper angle cutter can be a
performance gain. This technique commonly used with oversize valves
because there is a bit more area to modify verses stock valves.
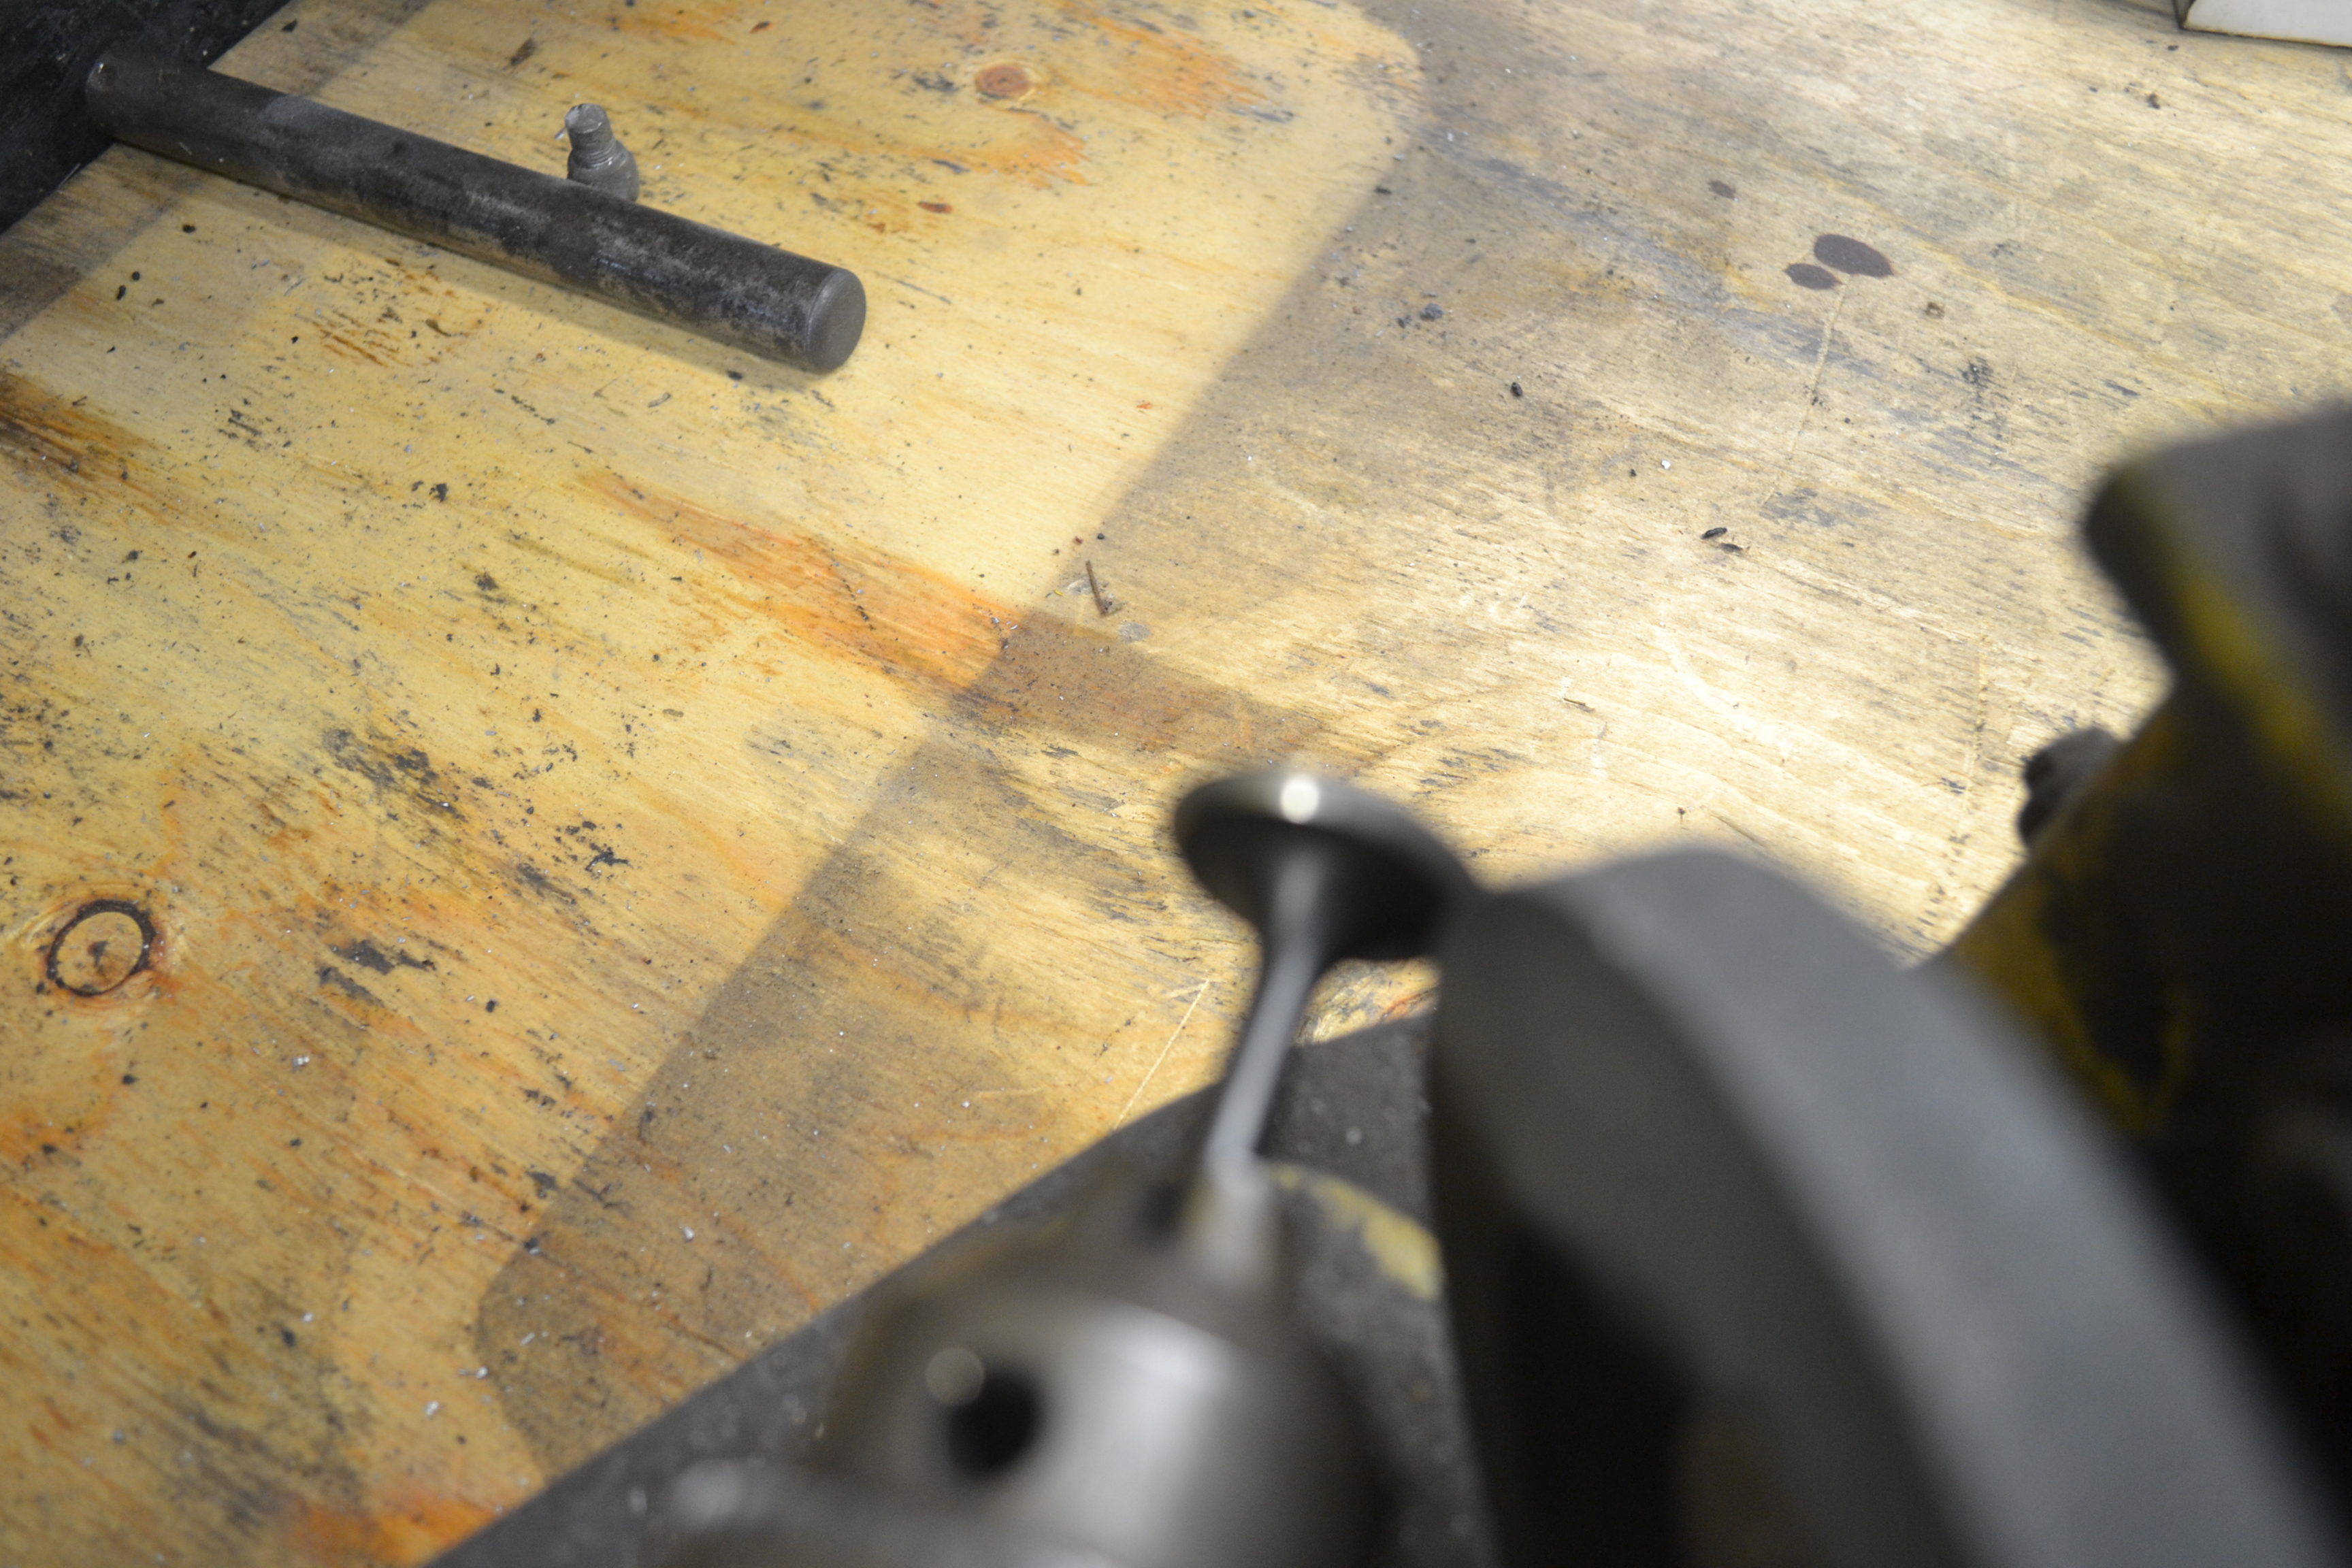
The second photo (bad photo) shows a valve with a lapping line. By chucking
the valve into a valve grinder, you can grind the port side of the valve
face with 35 degree set up right to the lapping line.
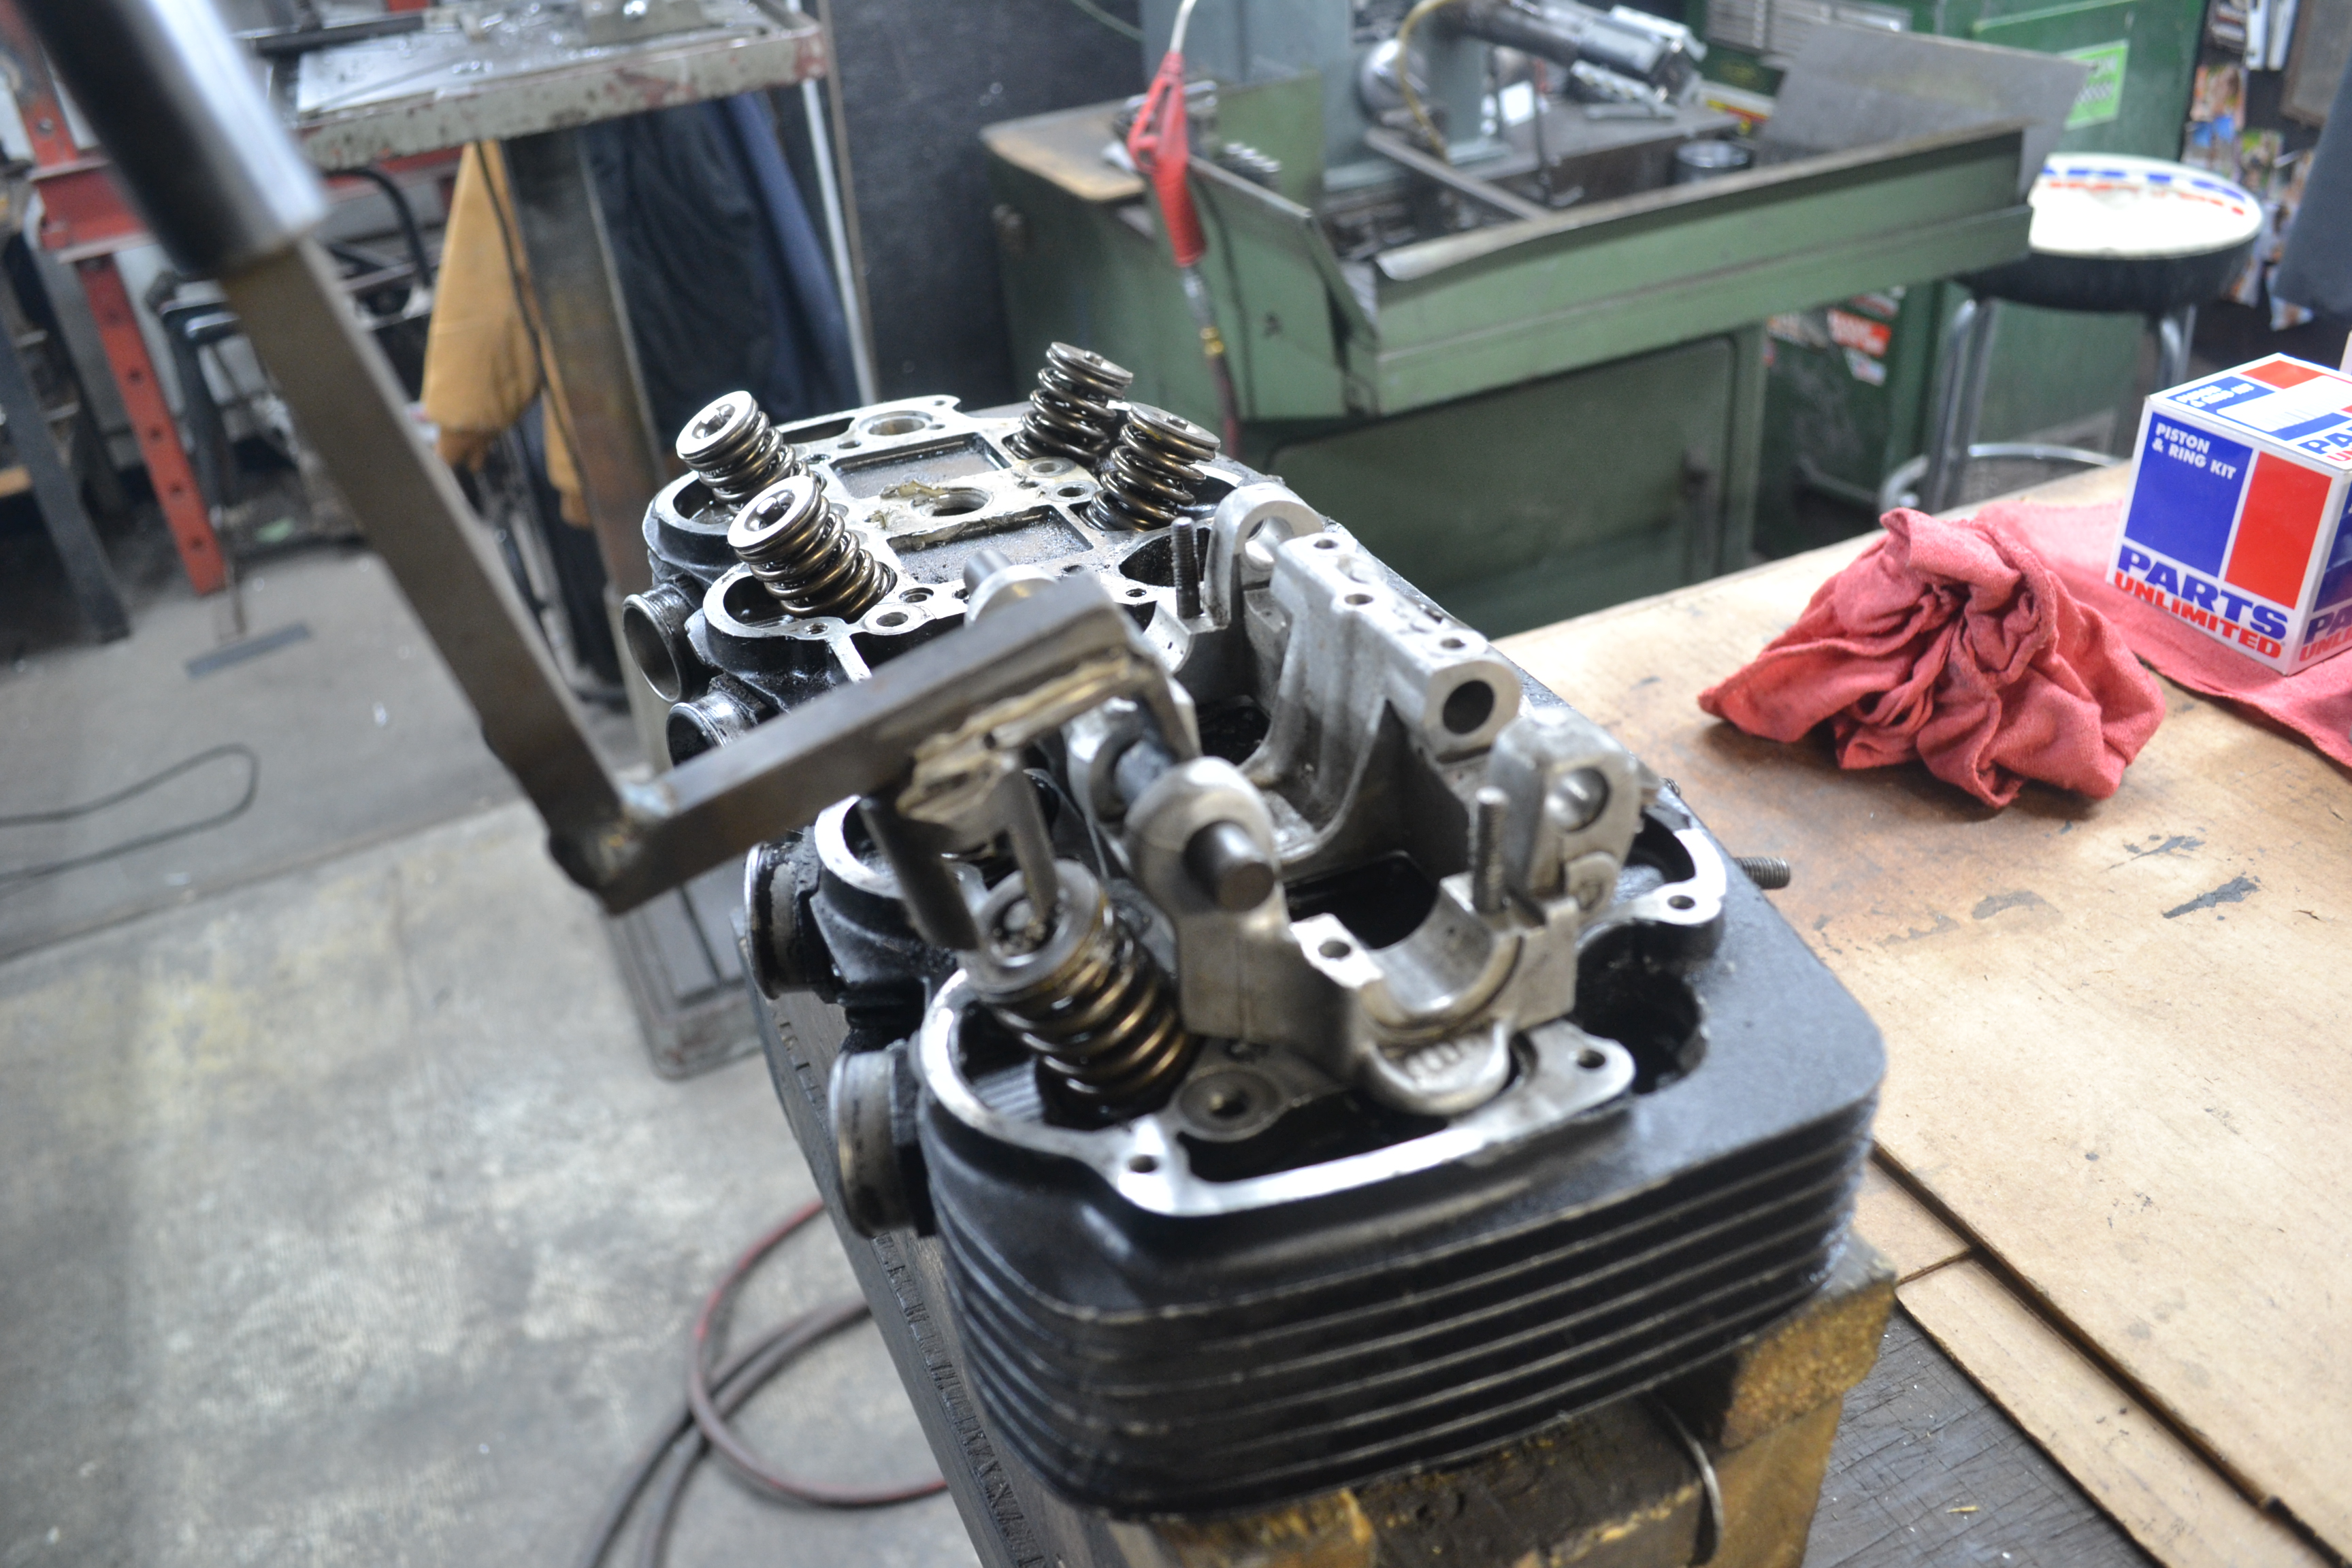
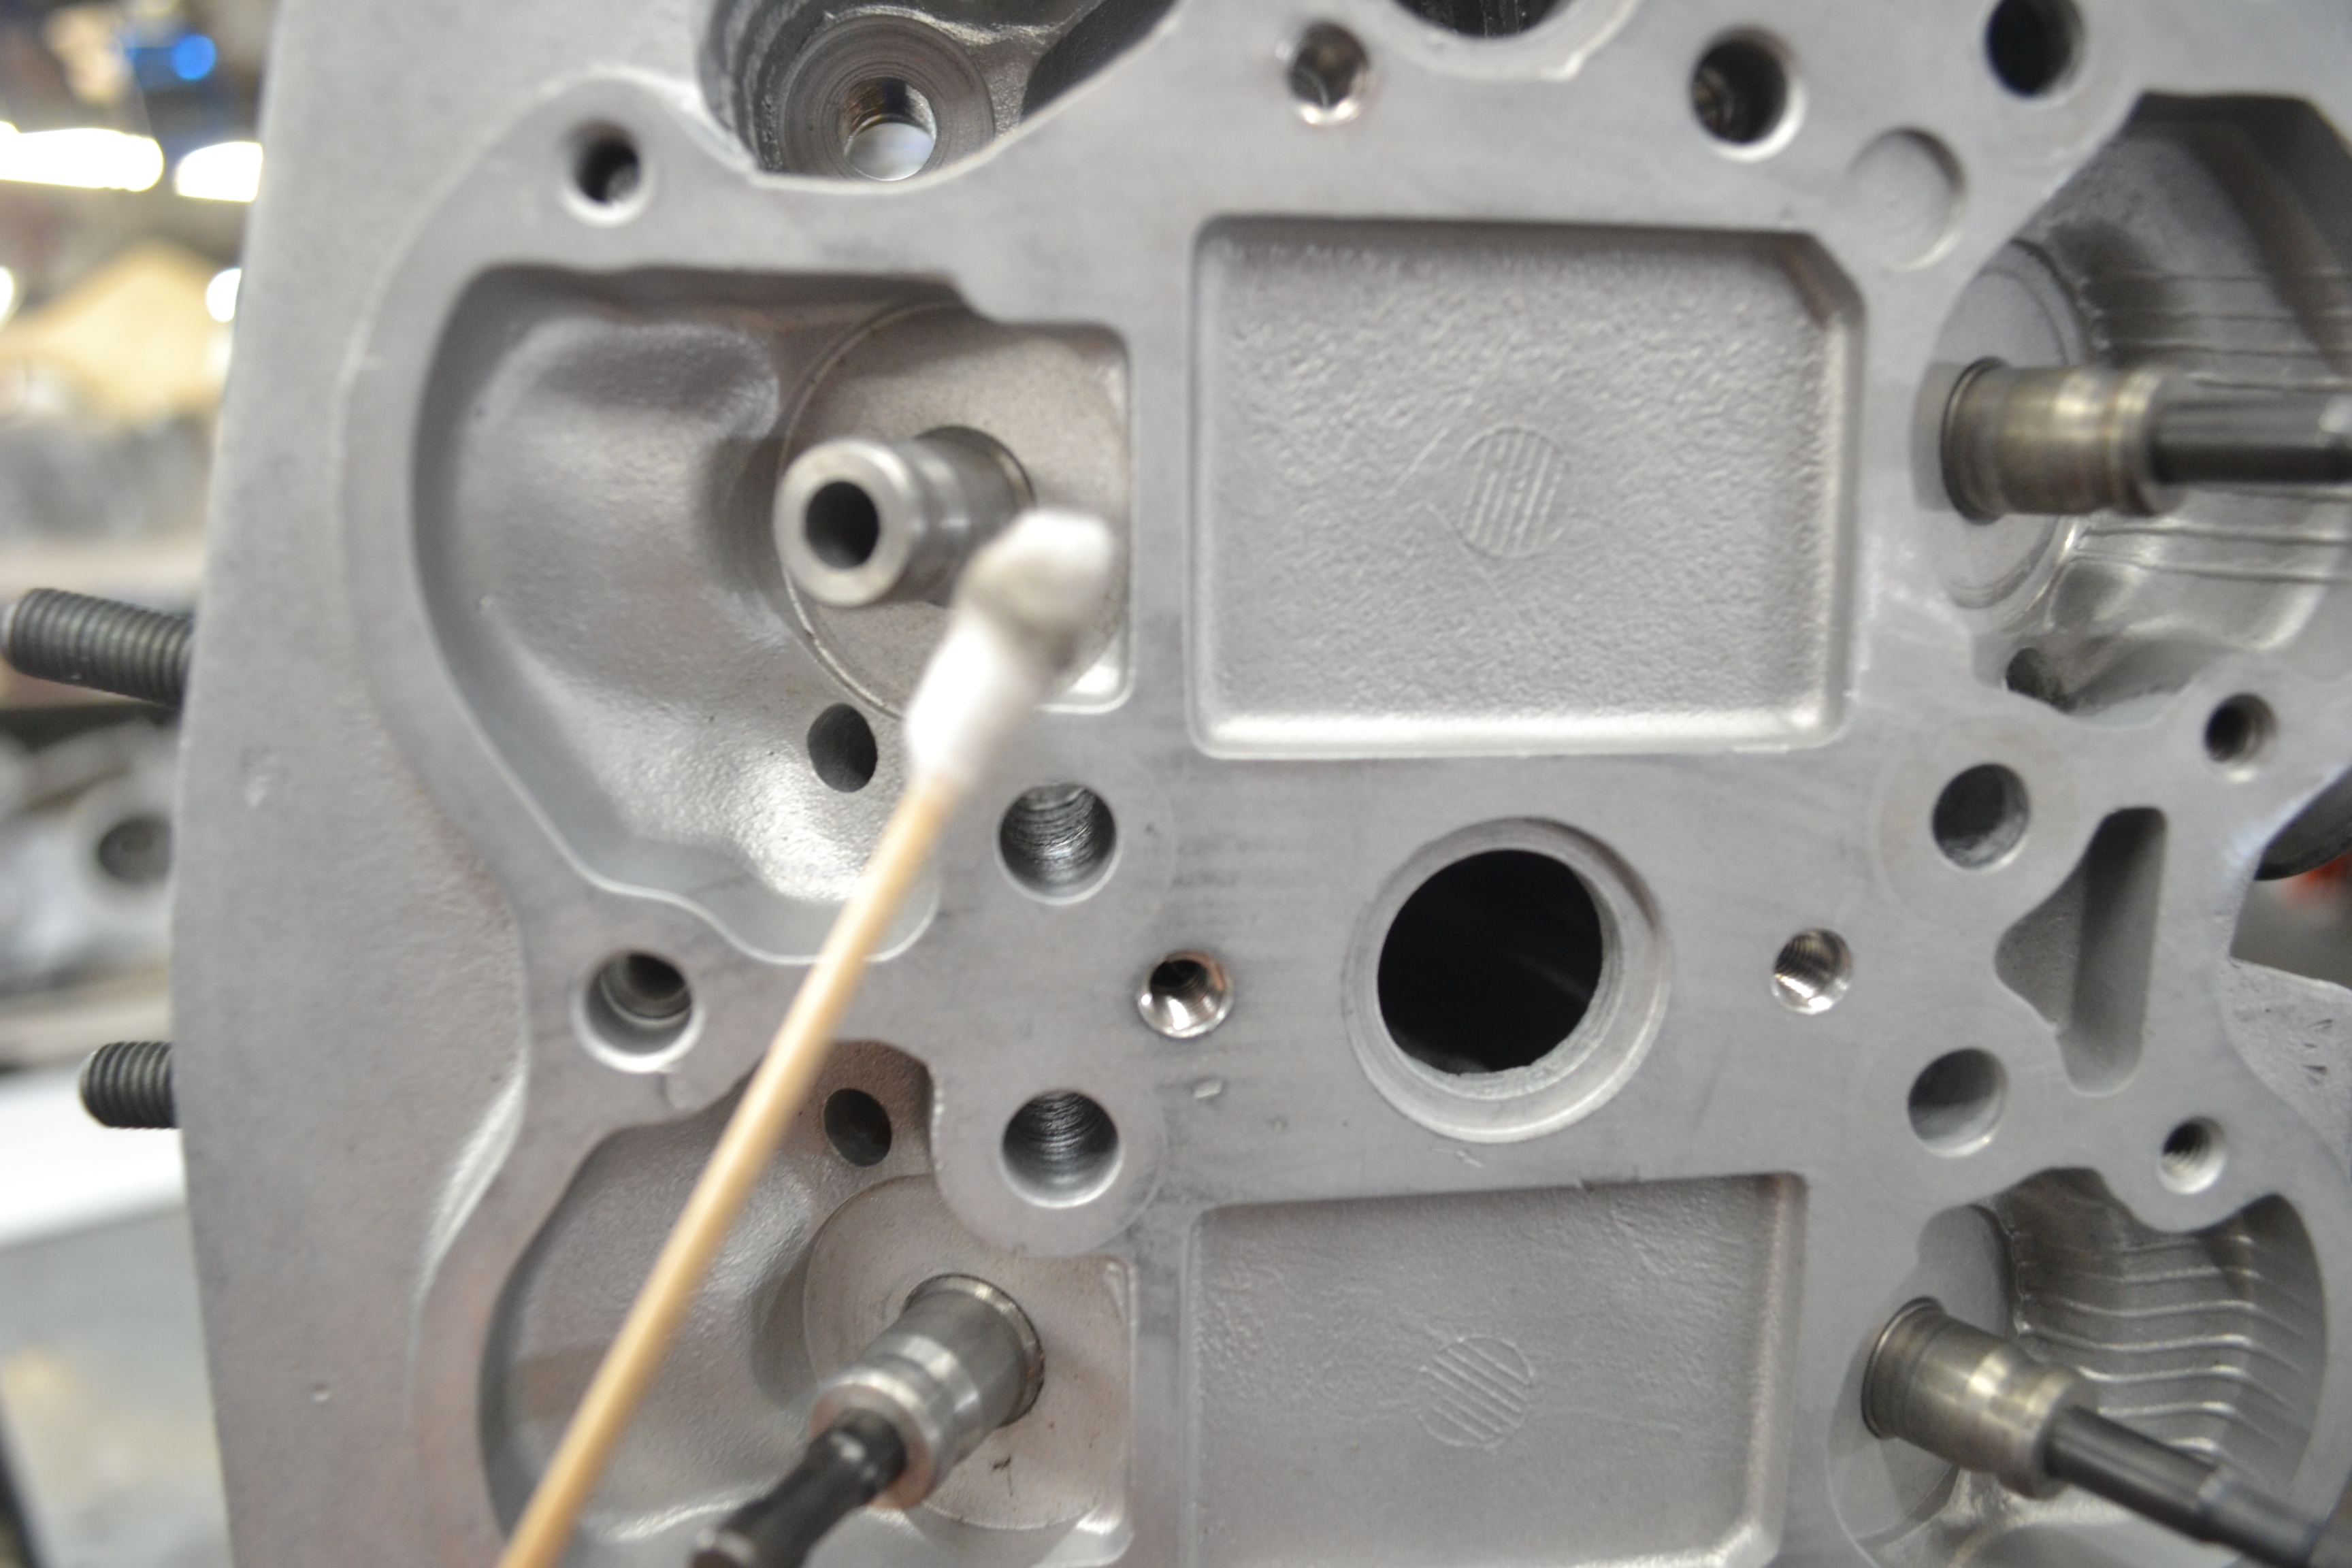
Assembly:
When assembling the head, the phrase "cleanliness is next to
godliness" cannot be over emphasized.
Want your valves to malfunction? Leave dirt inside your guides when
assembling.
This reminds me of a story.
Received a phone call and a customer mentioned that the black "stuff" on his
valve peeled off. After inspecting the head (done by someone else) the
guides were filthy on the inside acting like sandpaper.
There are many assembly lubes in the world when assembling the head. We
like Lucas brand.
|