OLD TECH TIP PAGE
DO NOT USE
___________________________________________________________
Tech
Stuff
Persistence will wear down resistance.
Ken (Cycle X)
When does a problem become a problem?
When its to late to fix!
Ken (Cycle X)
If your going to fall, at least fall
forward!
Ken (Cycle X)
I don't know what could happen, but I know what should happen.
Ken (Cycle X)
There are no interest-free shortcuts. If
you skip a stage in one way, you pay for it in another.
Peter Abrahams
|
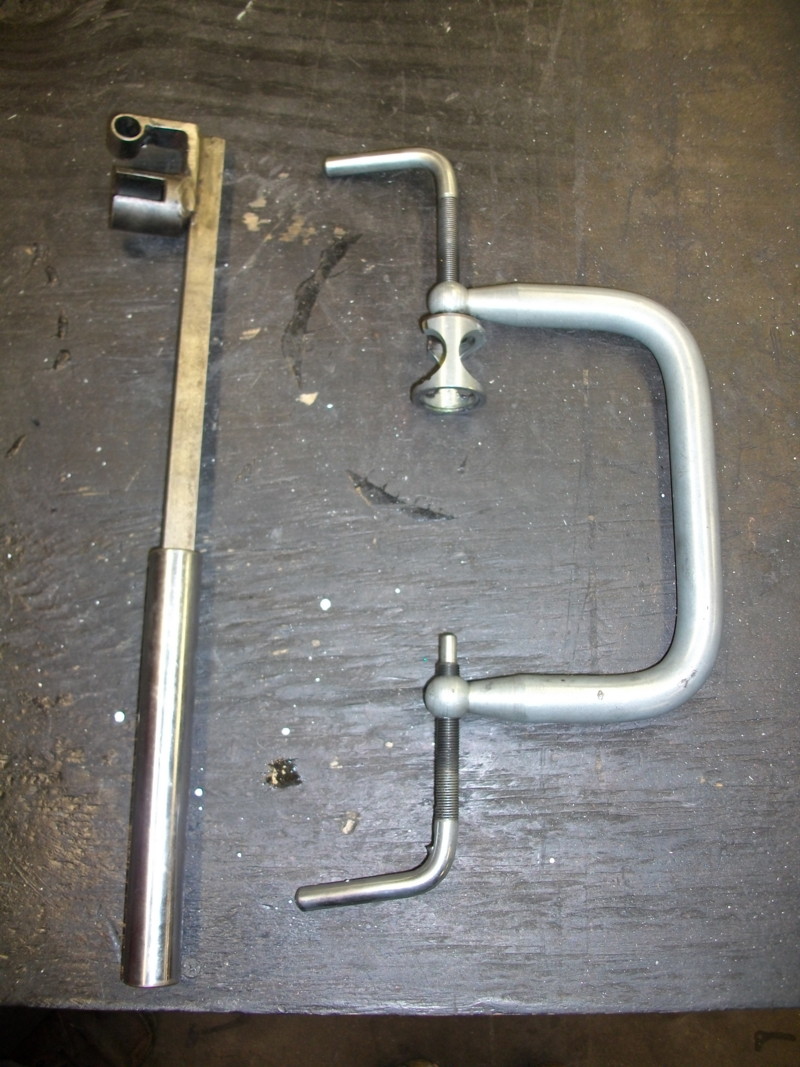
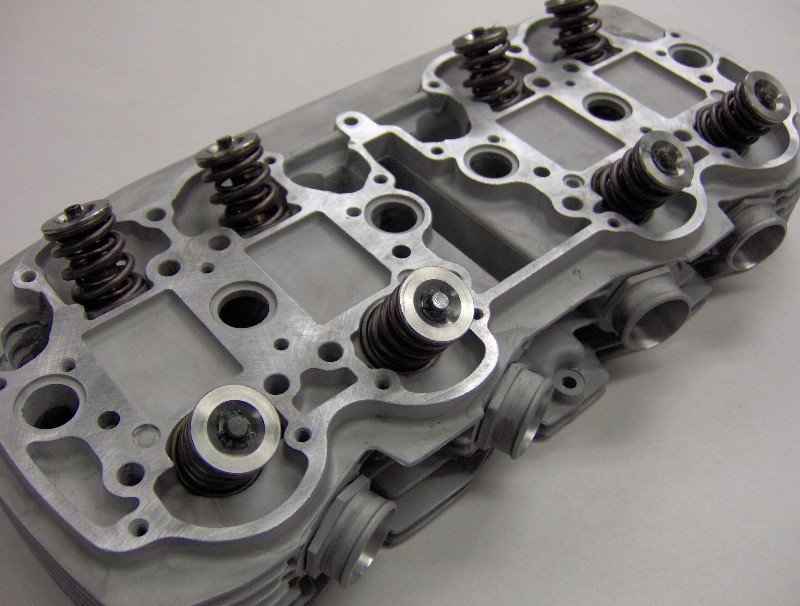
Removal of the crankshaft oil ball
bearings will expose 30 plus years of sludge. |
"What the hell is going on?"
This is what a customer asked me when he purchased top
spring retainers from a unnamed manufacture.
"The keepers do not fit very well in the retainers."
Did you purchase the correct retainers?
"Well, they said it fits Honda SOHC's and the
package said Honda 750 thru 78."
Sorry, they are wrong...
Consider the page below from an old action four catalog.
They explained some differences between early and later Honda keepers and
retainers.
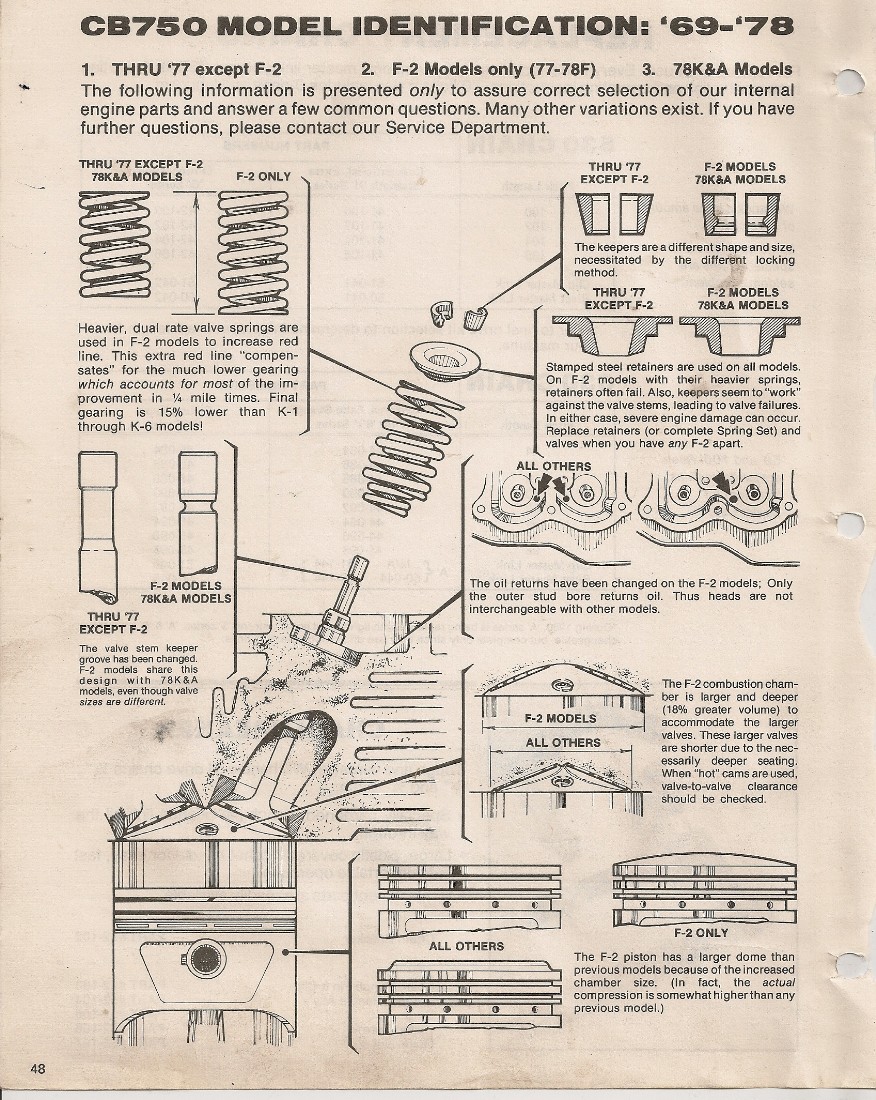
"But, I was told my bike was an early 70's."
That's why I wanted to show you this identification
page. 30+ years later, many parts have been switched because many
parts interchange.
"What is the deal with titanium VS steel
and alloy retainers?"
Glad you asked this question.
Honda stamped steel F2 retainers are inadequate, Honda's early keepers and
retainers are fine for most peoples hot street applications.
Other manufactures of steel retainers are super strong, but heavy.
"Titanium?"
Light weight and strong, but
expensive.
"Alloy?"
Well, years ago there were many types and
compositions of alloy retainers (some good, some not so good)
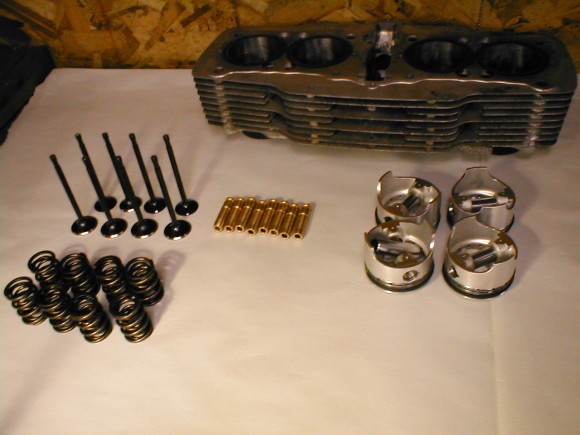
We have developed a spring kit for early and late Honda's (F2's also) that is
the best.
Kit includes:
Lower spring collar.
Best springs available.
Hard anodized light weight alloy top spring retainers.
Yes, hard anodized alloy retainer...
Tests show:
Hard anodizing top retainers add another 1000 lbs. of strength before
failure.
|
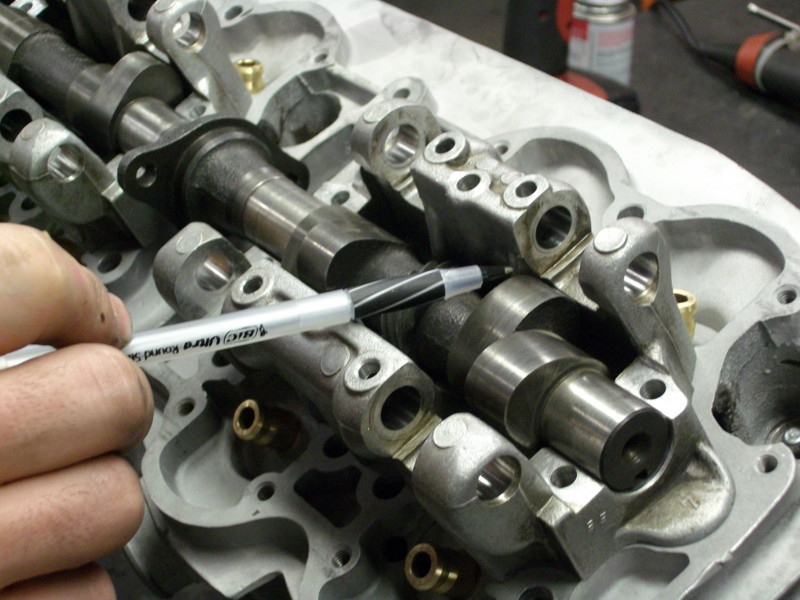
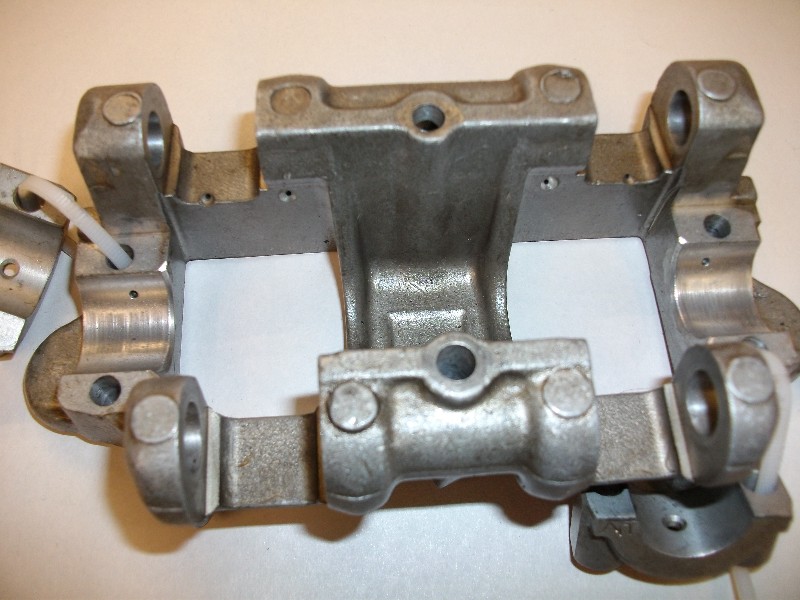
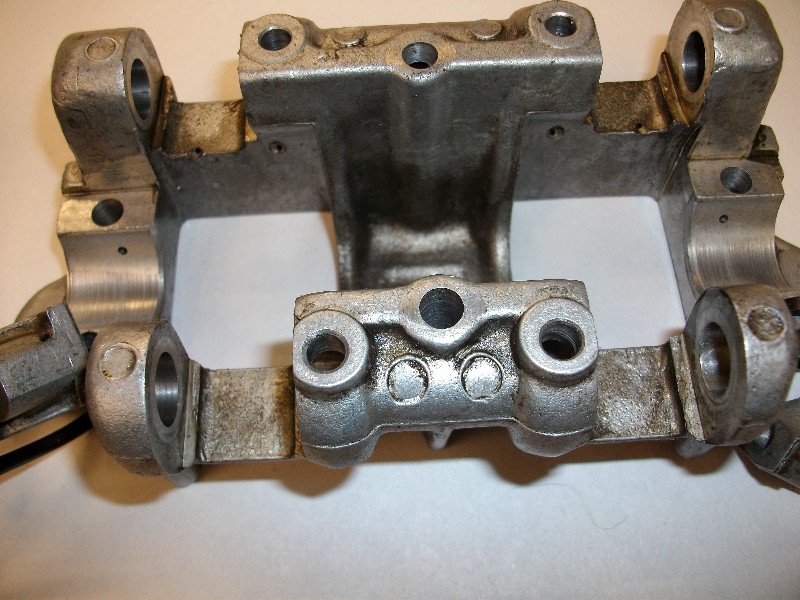
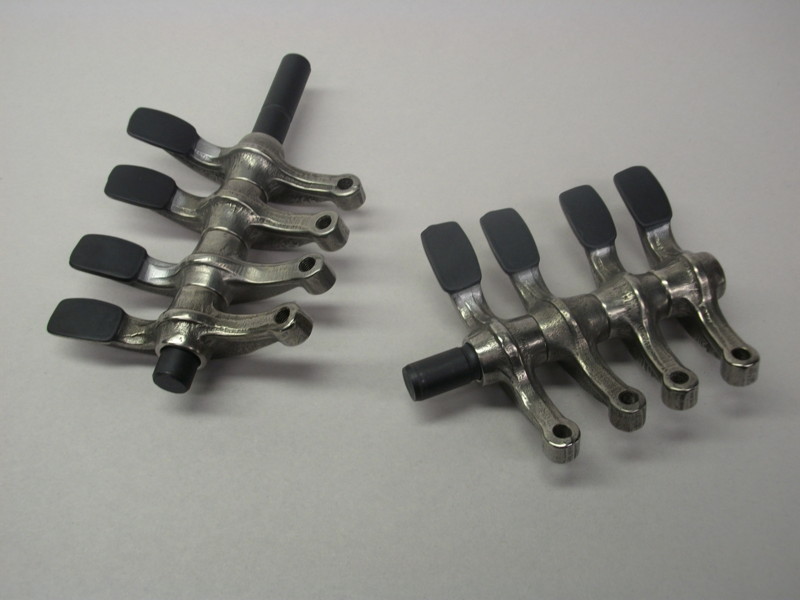
High-Performance
Coated Rocker
Arms and Shafts: |
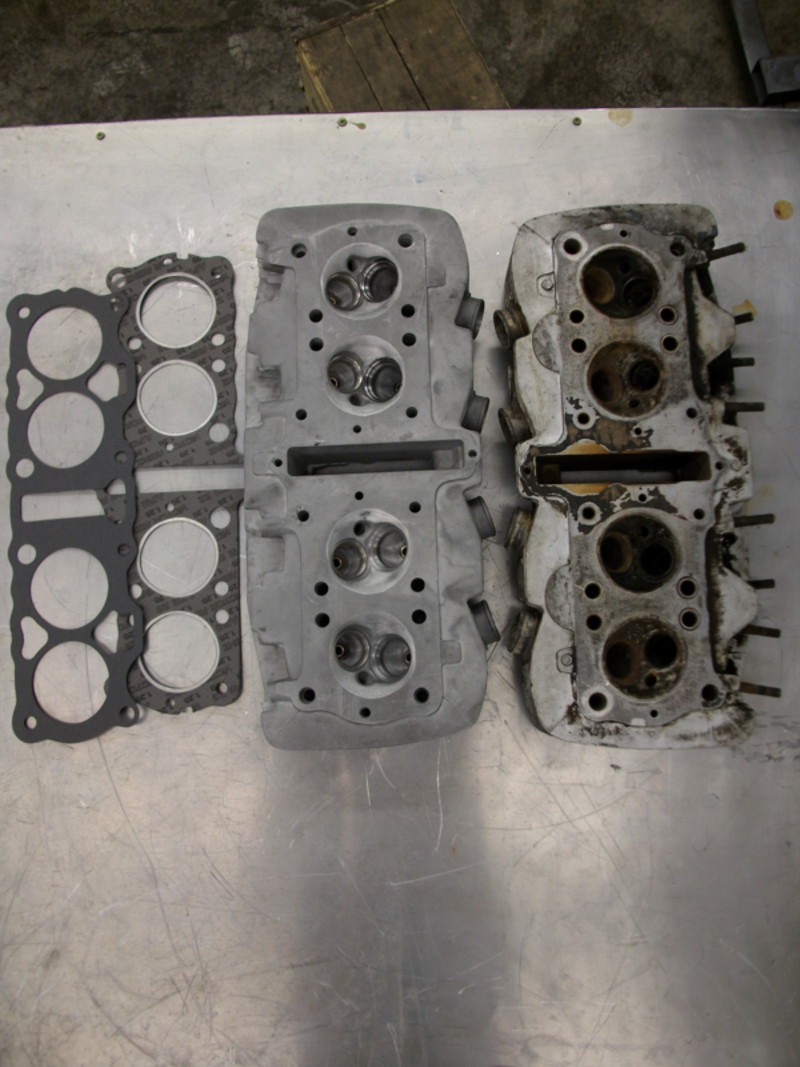
Gasket Installation:
Here is what we notice...
When we are reconditioning Honda motors we notice very few cylinders, heads, covers, etc...are true or flat. Actually, the top side of the head (cam side) is more inconsistent than the bottom. Valve covers can be inconsistent also. Chroming the valve cover can leave a untrue surface, because the chroming process can at times, leave a dripping texture on the gasket surface.
Previous gasket replacements can and have left scraping marks, which can cause problems. We are also not fond of the factory cylinder studs and re-torquing head gaskets can be time consuming. (Heavy Duty studs are torqued to 20-22 foot pounds VS the factory 13.7 � 15.2 pounds with stock studs.) And they resist stretching under running conditions. You MUST follow recommended factory tightening sequences.
Because of the above mentioned conditions, certain precautions and preparations are followed.
NOTE: Some automobile manufacturers do not even use gaskets because of close tolerances. (They use fancy sealers or nothing.)
Here is what do:
Modern Cycle X no-leak side cover gaskets will not need
sealers...
When we install conventional gasket materials on HD's, Triumphs, Honda's, Kawasaki's the gasket surfaces must be true and not abused. Threebond #1104, Gasgacinch, Yamaha bond or Honda bond is applied to the gasket surface. This sealer is used for three reasons.
First: To help the gasket overcome any flaws or chrome on the surface.
Second: (Equally as important.) To manipulate and hold the gasket perfectly in place.
Third: Threebond will not fall off (Like silicone) and cause blockage in critical areas.
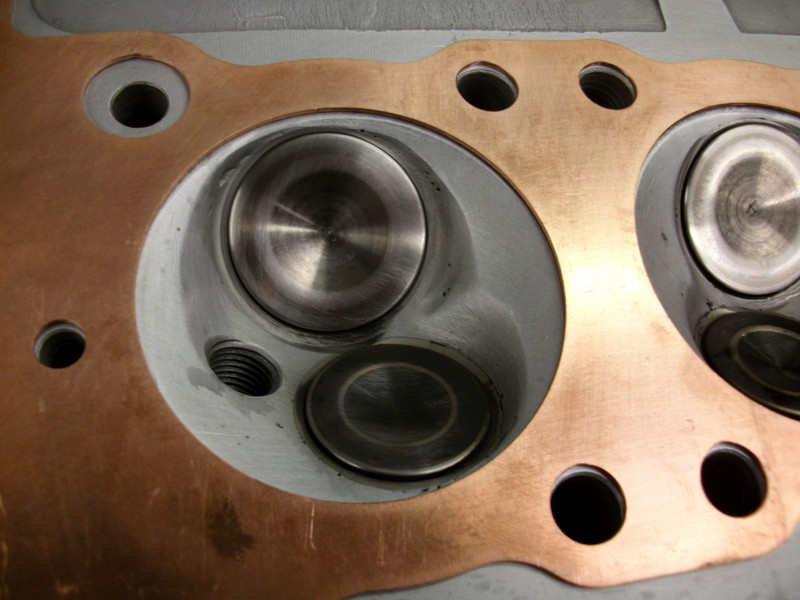
Most engine builders use aerosol copper coat on head gaskets.
(4-5 thin coats.)
We like to Gasgacinch on conventional head gasket materials, but our Cycle
X MLS gaskets are the best.
And once again you MUST follow recommended factory tightening sequences.
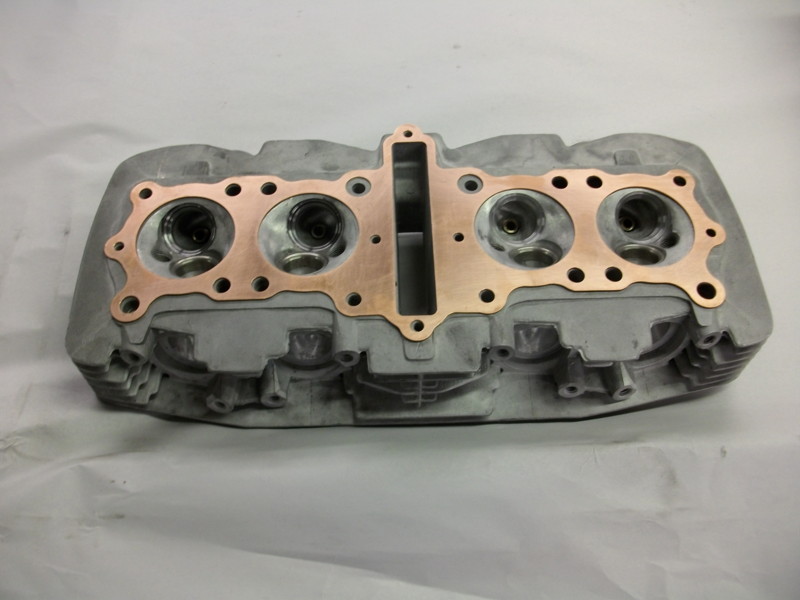
The head gaskets are checked to
make sure the dowel pins and head gasket holes are perfect before gasket sealer
is applied.
Dowel pins and head
gaskets are checked because they are accurately positioned and manipulating the
head gasket is not an option. Minor attention to head gasket dowel pin holes is
common from time to time.
Example:
We had received a chrome valve cover (Yesterday) from a customer to install on his motor. Because we are aware of age, warping, chrome dripping and scrape marks, we checked the gasket surface.
This cover was so bad, even NASA space shuttle gaskets and sealer would not have helped.
Finally:
After the motor has been started and ran a few times, we will recheck torque spec's on all the covers. Most of the time they need to be re-torqued.
Most people re-torque head gaskets after a thousand miles or
so. Especially if stock cylinder studs and conventional head gasket materials are used.
Cycle X MLS head gaskets will not need to be re-torqued.
These procedures are what we do, and should be considered when installing any brand of gaskets.
Speaking of warm-ups...
We feel the initial warm-ups are very important when trying to make the head
gasket happy.
We feel head gaskets get uncomfortable and are prone to failure when revved up
and stuff during initial start-up.
Here is what we do...
Start and allow the motor to get hot to the touch (About 2 to 3 thousand RPM's)
Turn off and let cool.
Repeat these heat and cool down cycles about 8 to 10 times (Gradually raising RPM's)
If you follow the above mentioned procedures you will be fine. (Results may
vary, needed to say that)
Their are many opinions about start-ups and break-in procedures. (No need to
debate, do what you feel is best)
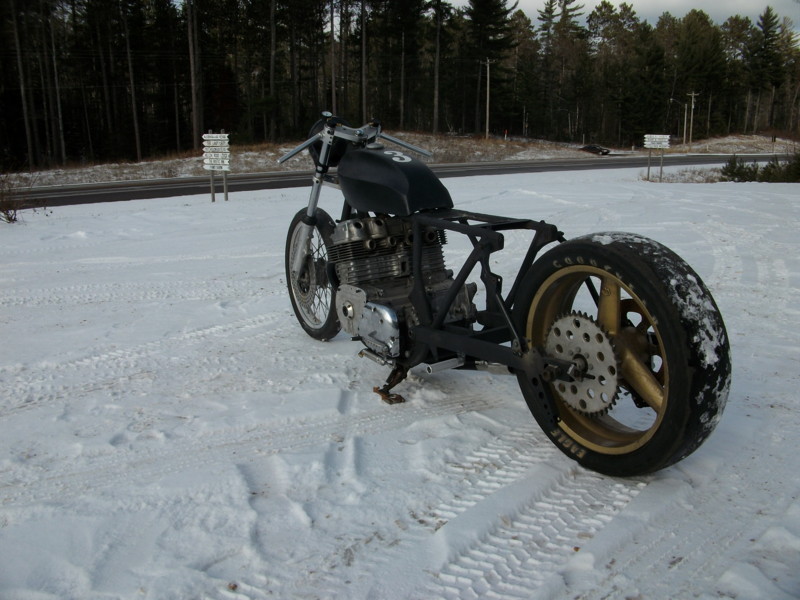
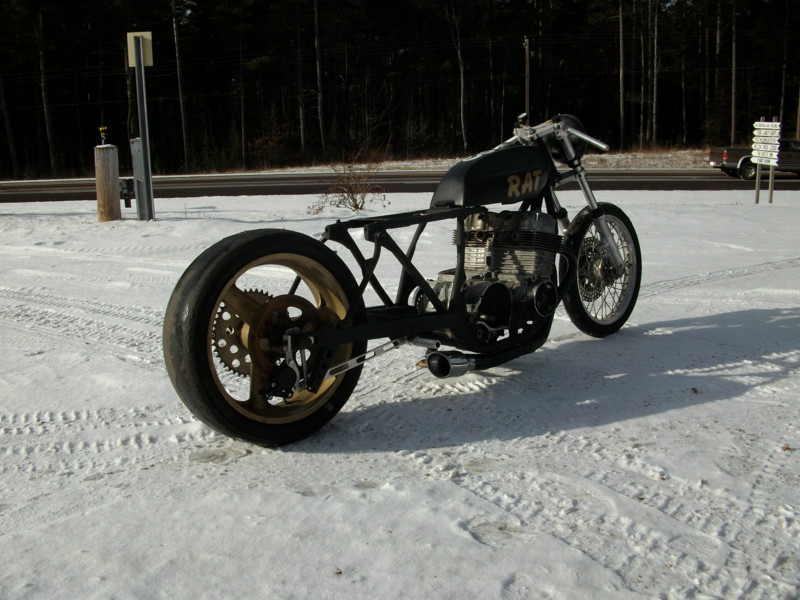
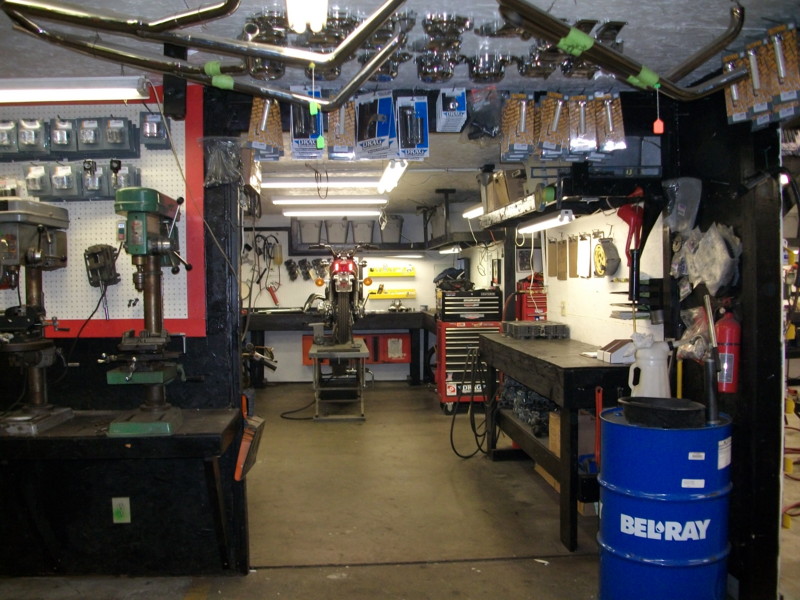
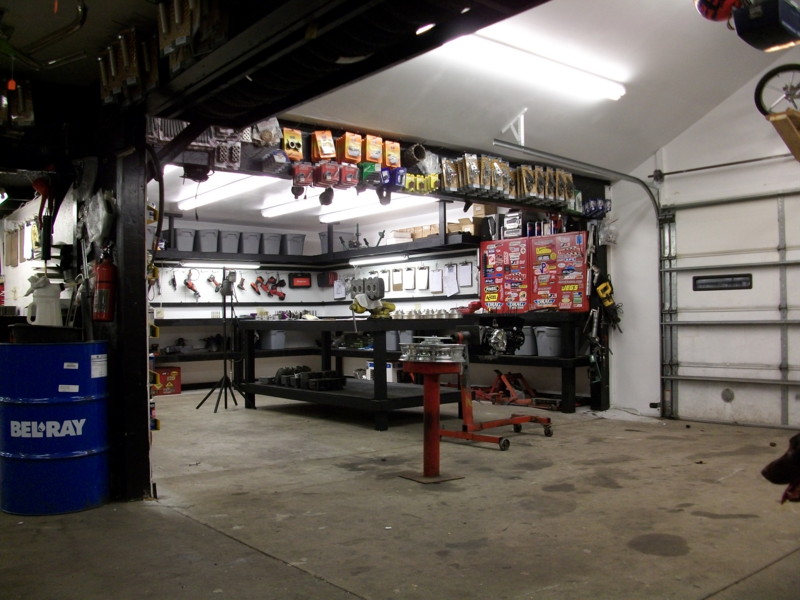
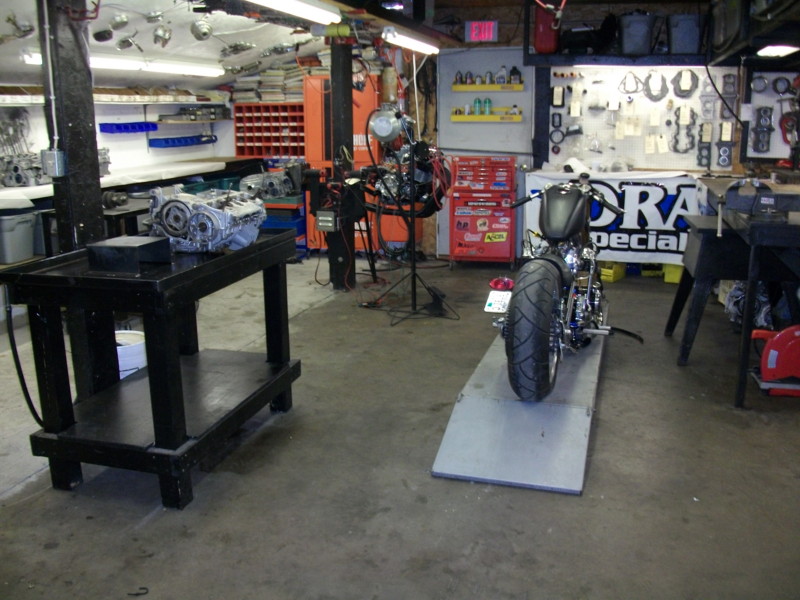
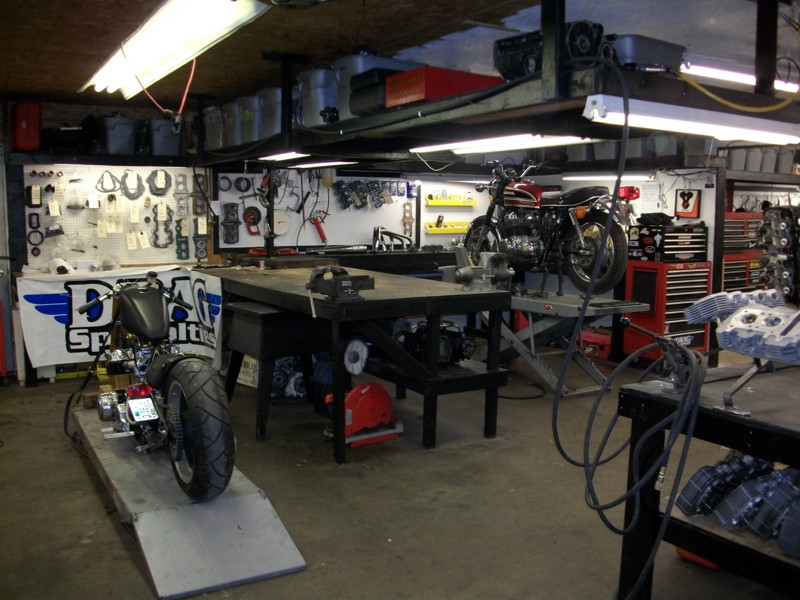
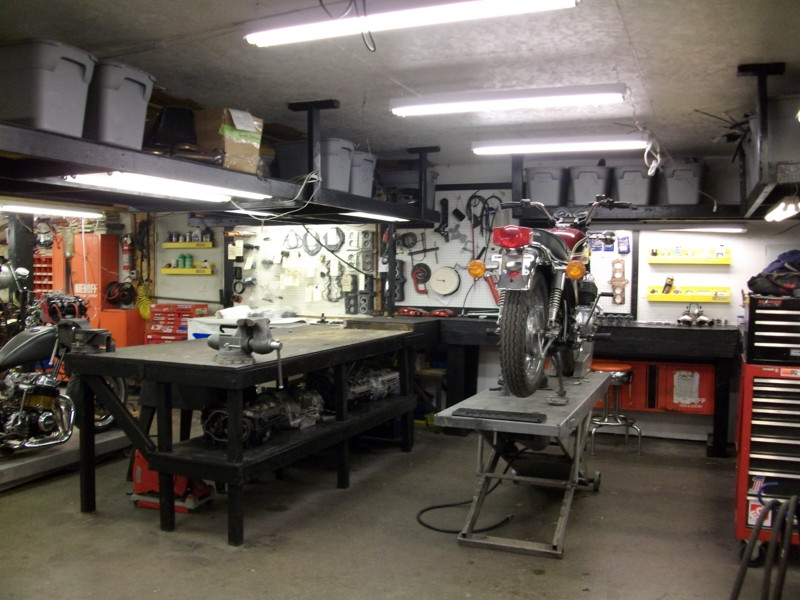
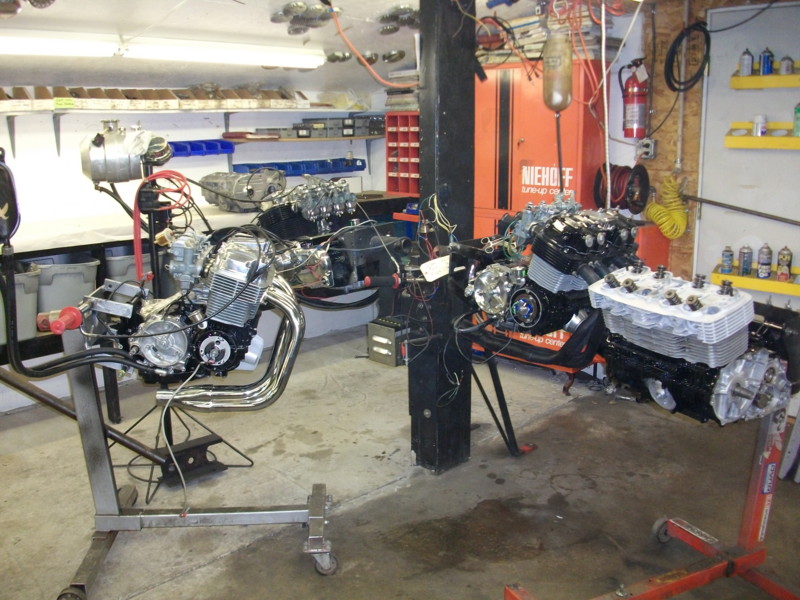
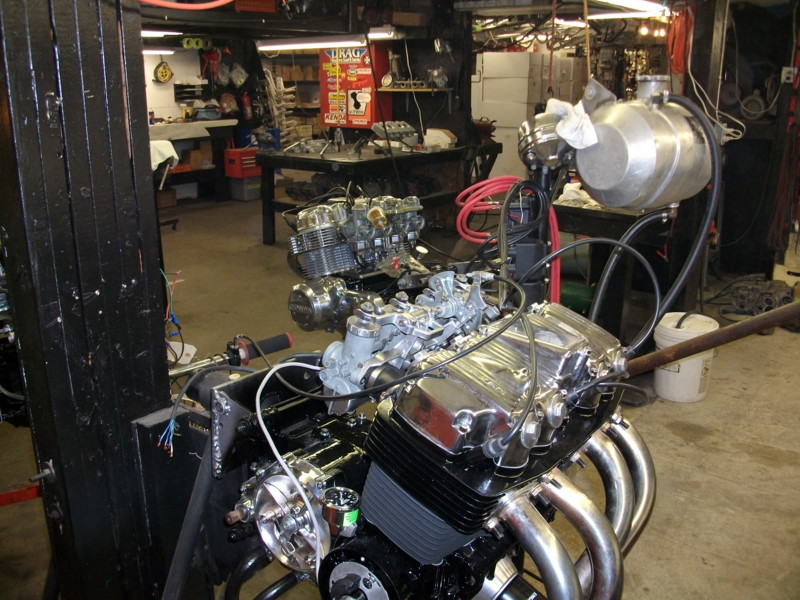
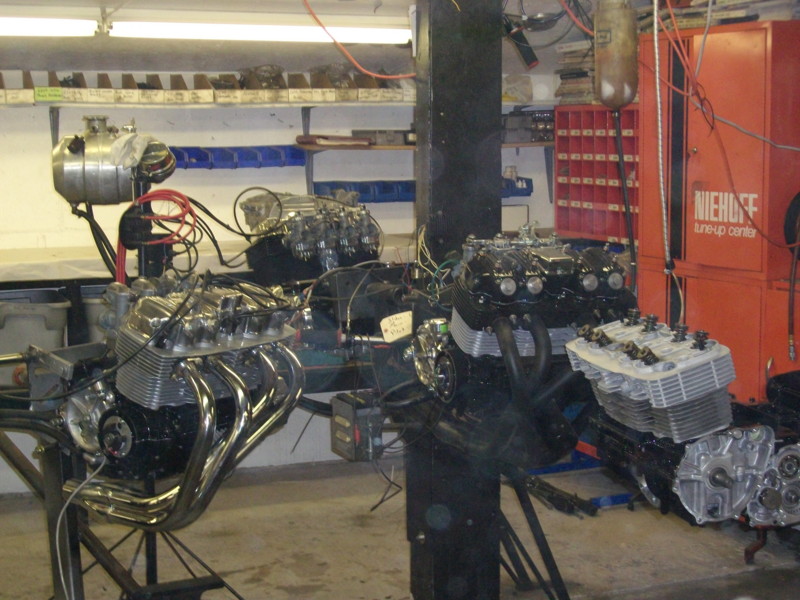
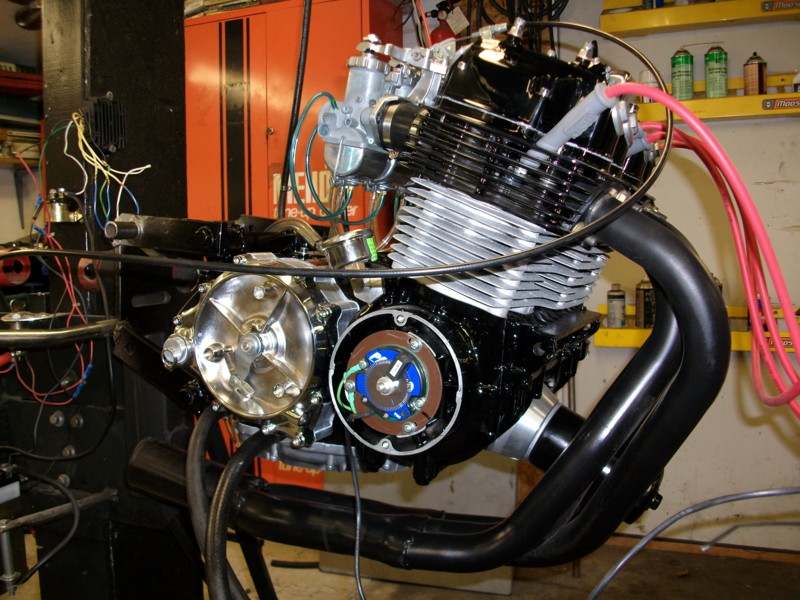
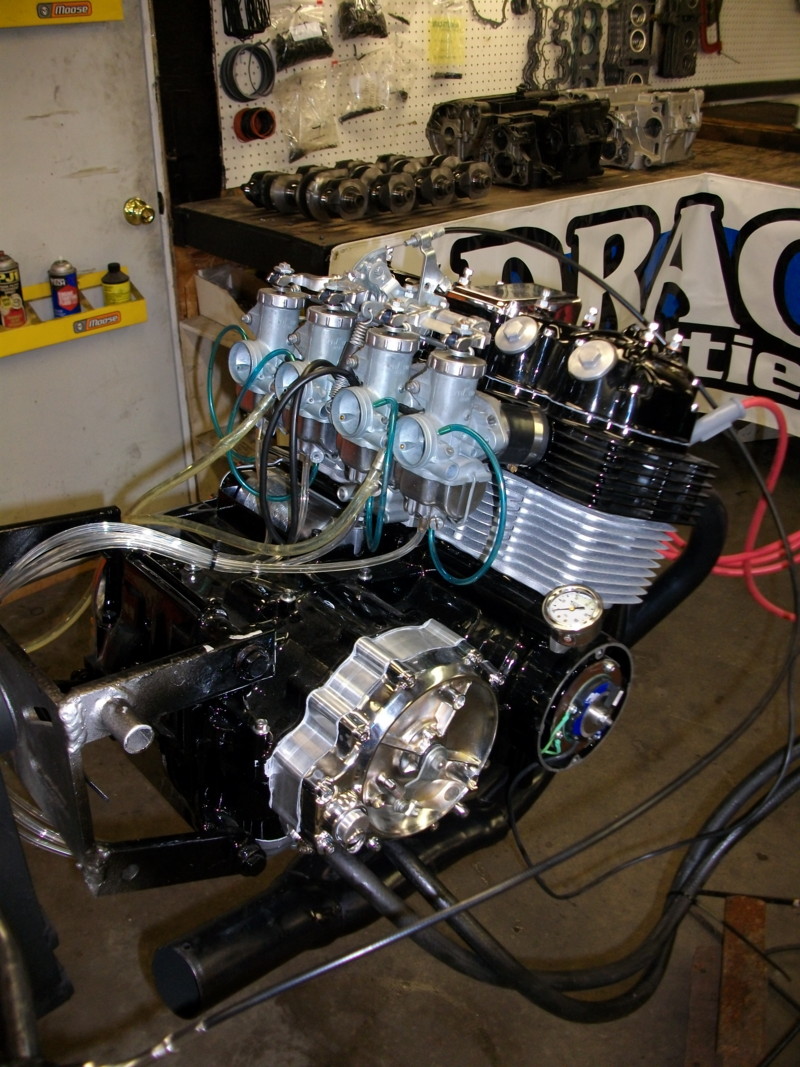
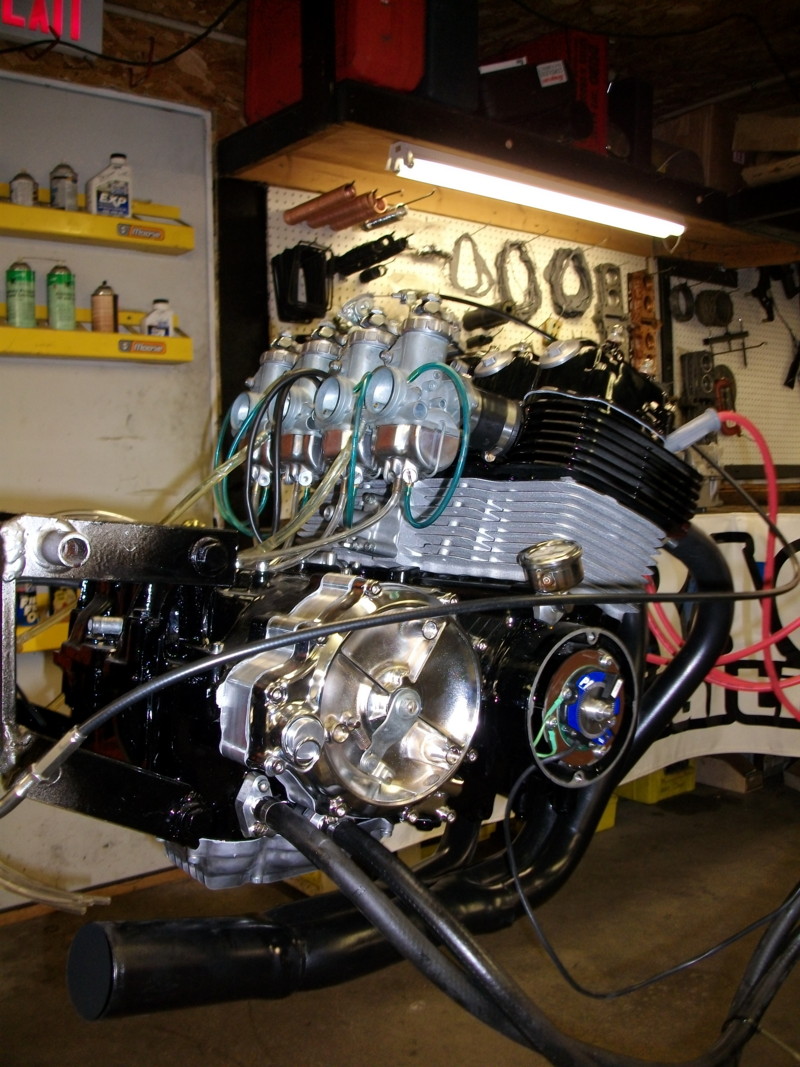
We have been working on a Honda drag bike for a few years.
We will show pictures of the bike in progress.
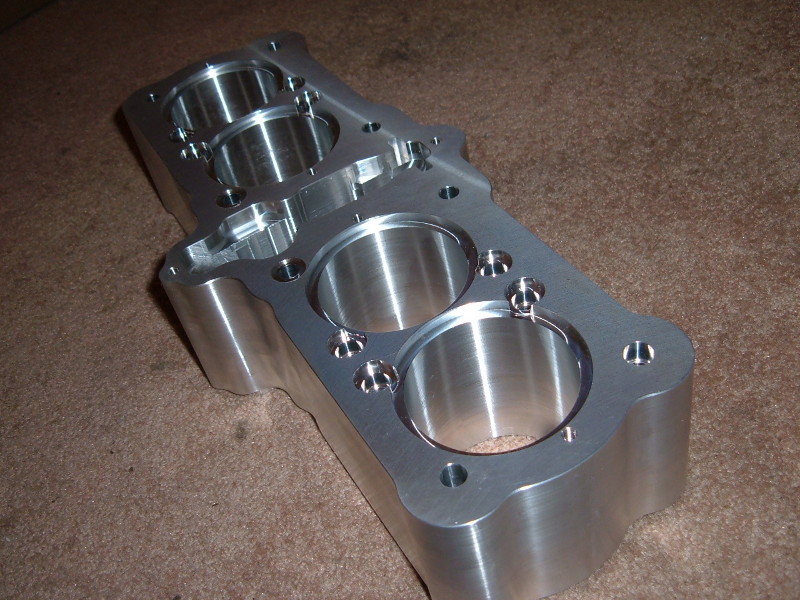
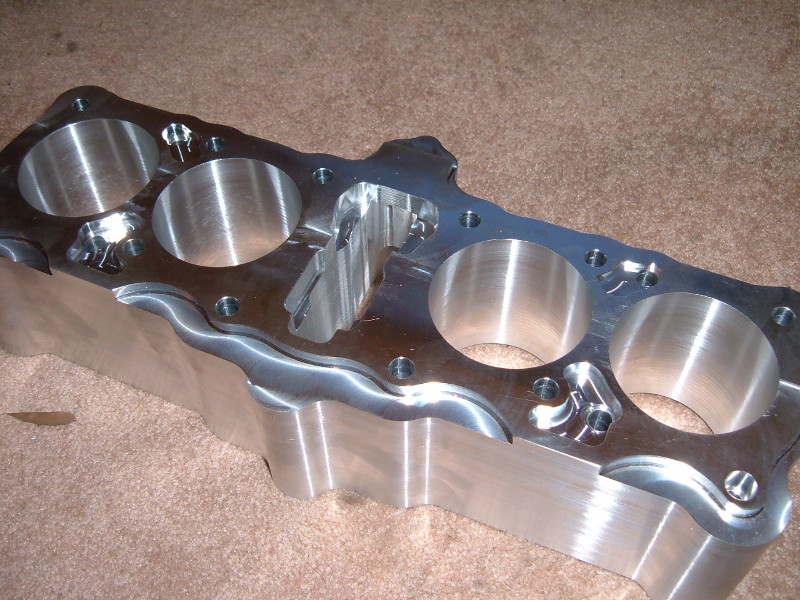
Cycle X Big Block Cylinder

Cycle X Rods
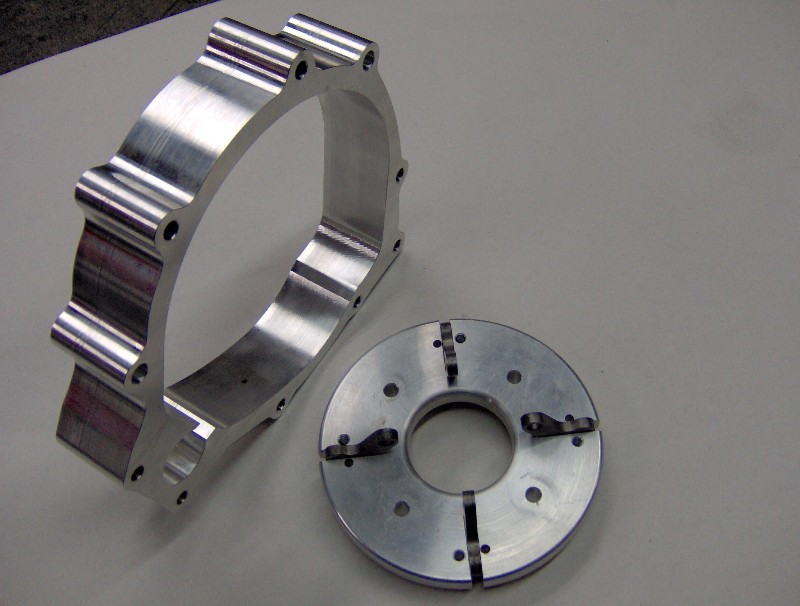
Cycle X Lock-Up Clutch
Cycle X Mock-Up
Could this be the future fastest normally aspirated
Honda SOHC drag bike?
Our soon to be un-retired Honda drag bike will be getting a our full attention.
FAQ Section
(Frequently
asked questions)
Question:
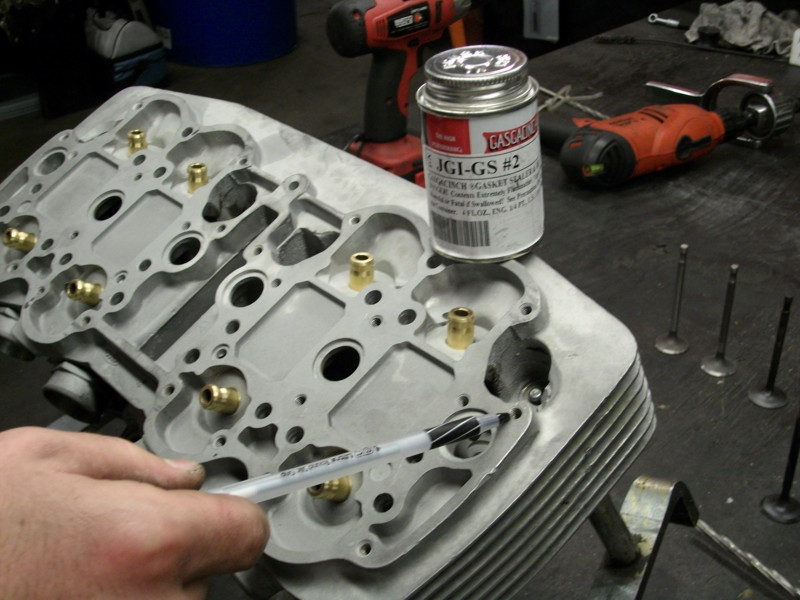
What is the purpose of those 8 rubbers around the studs between 1&2 and
3&4 cylinders?
Do we need them, because we found an early cylinder in great condition?
Well, we would suspect Honda thought they
needed those rubbers to help with potential weepage in the head gasket area.
Personally, we feel heavy duty studs should have been used from the beginning (like many other makes and models)
Maybe Honda felt HD studs were not cost effective during production.
But, early and later cylinders are interchangeable and if you follow the above
mentioned procedures, you will be fine without them.
Thanks.
Ever wonder why some bikes run better than others with the same components?
Why does my buddy�s bike have this jetting and mine doesn�t like that jetting?
For conversation sake, let's assume (never assume) that both bikes are in the same condition, same electrics, tuned up, altitude, etc. (Mileage unknown.)
Why do some bikes require different jetting?
Story:
We had a customer�s motorcycle that began to run rich. All the normal tune-up stuff was okay. He is the original owner and no changes were made. (Exhaust, fancy air filters, etc.)
Question: So why does the bike run richer? Failing ignition? Dirty air filter? Float malfunctioning? Bad fuel?
Answer: Worn carburetor needle jet and needle.
Just like pistons, carburetors are working hard. Slides are moving up & down, being pulled & pushed with intake pulses constantly wearing the inside of the needle jet.
The needle jets and needles are very precise and wear is immeasurable. The detection of this problem is sometimes difficult. (Unless you spend a $100.00 per hour on a Dyno.)
When you drive
a bike at normal speeds, you are generally in the pilot circuit, slide cutaway,
needle jet and in the needle a bit. These circuits work together delivering fuel
to your motor. A little wear in the needle jet and needles is why some bikes
with open exhaust, open air filters SOMETIMES run better with almost stock
jetting. We wrote a tech article on exhaust systems and tuning and basically
said: Select an exhaust system you like and jet accordingly with an open mind.
Same with this needle jet, needle topic: Do not go into jetting a bike with a
preconceived idea about jetting. Keep an open mind.
We do not know if needle jets & needles are still available or if you really need them.
This was just a
story and maybe this will help someday.
Here is what do from time to time.
Consider the needle jet like a drinking straw.
If you poked a hole in the straw, you would get a lesser amount of soda and a
bit more air.
In a carburetor, you would get a bit less fuel and a bit more air (atomized
somewhat).
When the needle jet wears, we install air jets so we can regulate
the amount of air entering the needle jet.
This is another "external" method to make these old carbs user
friendly.
More Carburetor Experiences
A lot of literature and chat room posts are helpful in diagnosing ill running motorcycles.
We wrote a tech article on ageing and worn needles and needle jets recently and talked about how aging components can mess up the diagnostic process. We prefer to write about running issues that are not in print or rarely talked about. Generally, these things have baffled us in our service department and are experienced real life fixes.
When it comes to carburetors and jetting, the diagnostic problem must be cut in half.
Is it rich or lean? At �,�, �, full throttle is it rich or lean? Many publications and discussions can help with this.
Here is a real life story and an experience that has worked for us from time to time.
When cruising down the road your bike is normally running about 2 � to 3 � thousand rpms. Most of the jetting conversations talk about pilots and needle positions. We feel that is a wide range. Why? There is a sweet spot that is overlooked when transitioning from pilots to needle position. �The slide cutaway.� Sometimes with pod filters, drag pipes and other custom products you must have a determination to get the job done. Rather than, �I�ll live with its attitude.�
First, pilots, cutaways, needle jets, needles and main jets work together. They cross over, overlap, and need to be delivering fuel and air as needed.
Oh yea!
The cutaway!
The sweet spot!
Here is what we do in many high performance or aggressive situations. We will disassemble the carb bank and remove the carburetor slides. Then we will remove 7 thousands at a time from the bottom of the slide (on a lathe) this will richen up the sweet spot (between the pilot and needle position), which is normally overlooked. Of course the carbs will need to be synchronized again for absolute determination of progress. Sometimes after doing this modification, we have gone back to stock pilot jetting. Here is the problem. This tip takes a lot of work and hours, but no money.
Sounds simple?
Some of these tips have cost us many hours in our service department and we would like to support people having annoying carburetor issues. Hope this helps someday.
** Note: Dynos are used with a 25% braking load to simulate heavier bikes that might ride with a passenger now and then. So, if you weigh 130lbs and you tune your bike perfectly then pick up a chick that weighs 250lbs your bike will need more fuel. So, if your bike runs great in neutral. But runs like shit on the road, give it more fuel.
|
Note:
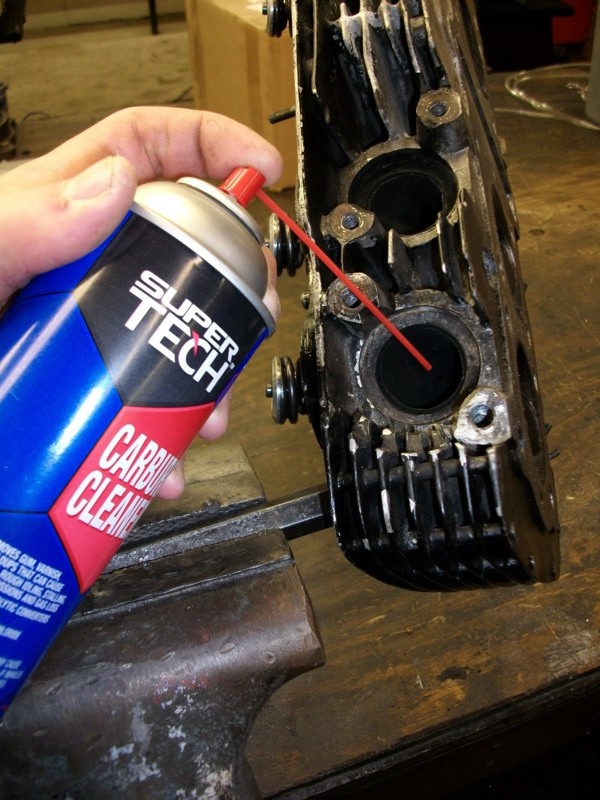
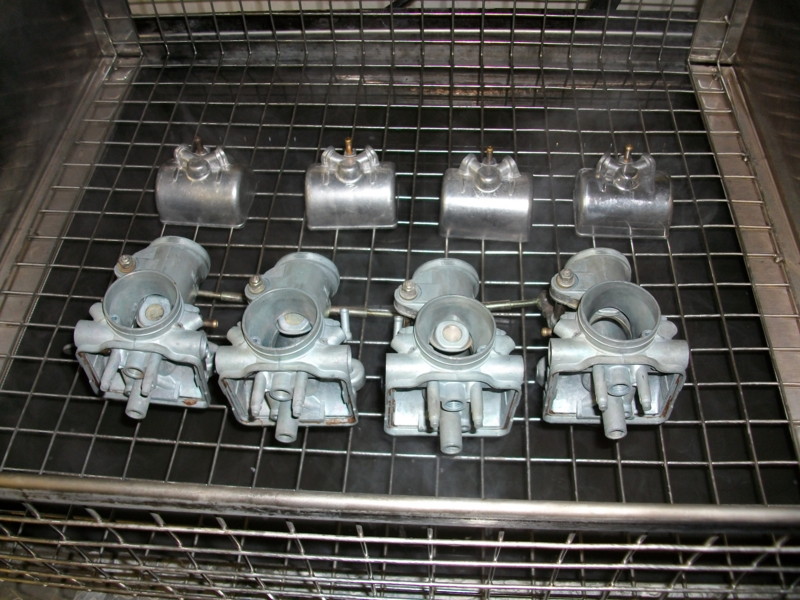
If you spend any amount of time around motorcycles, sooner or later you will run into issues caused by dirty carburetors.
Speaking of thorough cleaning, you will need to focus some attention on your needle seats. As we all know, bad gas will over time leave a film over everything that it is in contact with. We have found that a small piece of 0000 grade steel wool spun with a small screwdriver is the best way to remove this film and put a nice polish in your needle seat. By achieving this polish finish you will greatly reduce the risk of poorly seated needles resulting in fuel overflow. Note: This film that accumulates in the needle seat also accumulates everywhere else. Including the inside of your jets. This will obviously reduce the inside diameter of the jet resulting in incorrect or no fuel flow and delivery.
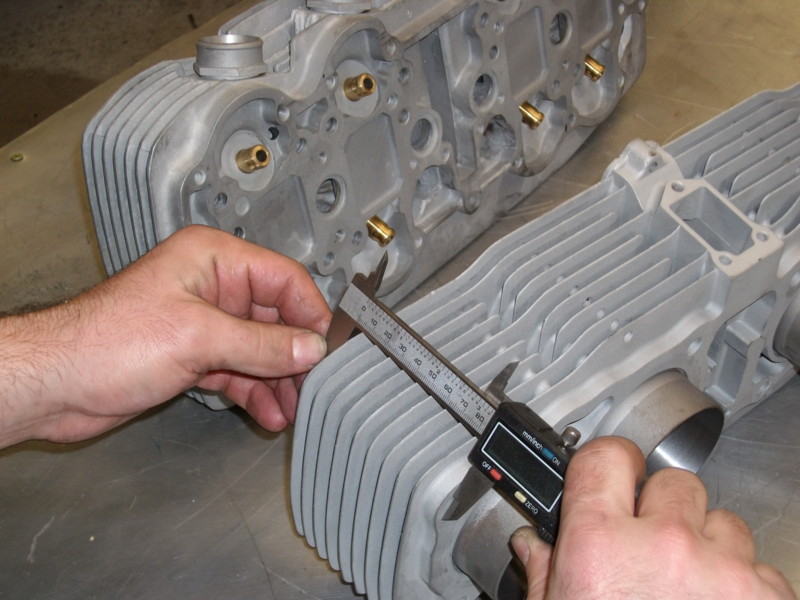
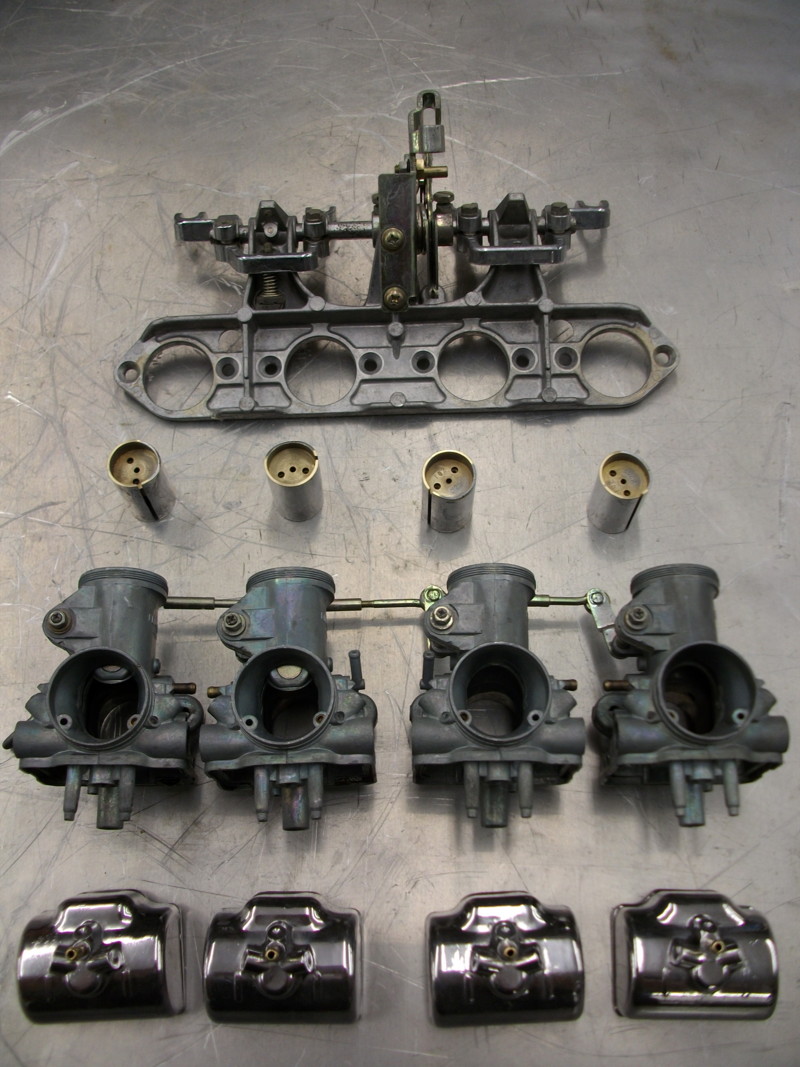
One of our cheapest (about the cost of a twelve pack of beer for your friendly local machinist) and easiest carburetor modifications is to cut 0.007" from the flat portion of the slide bottom. This modification is most beneficial in instances where pod filters have been installed or serious air box modifications have been made. Refer to "More Carburetor Experiences" below for a technical description of why this is helpful.
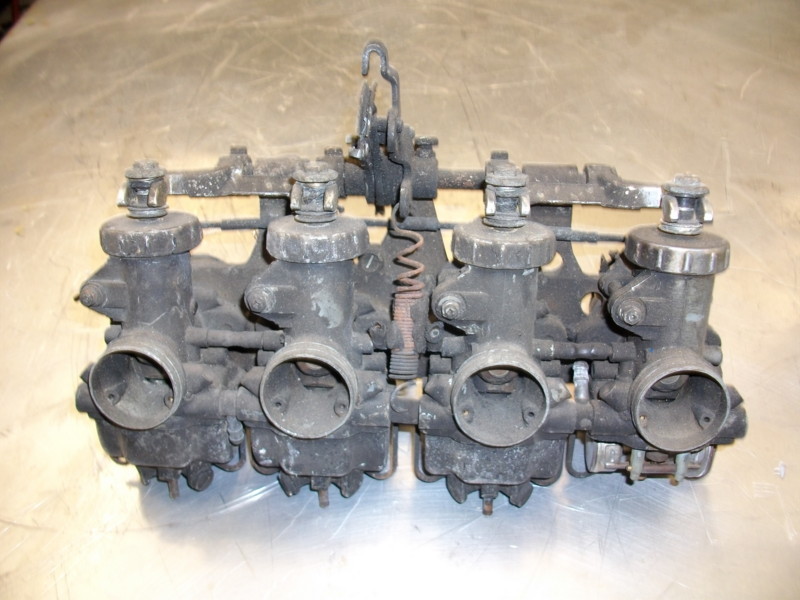
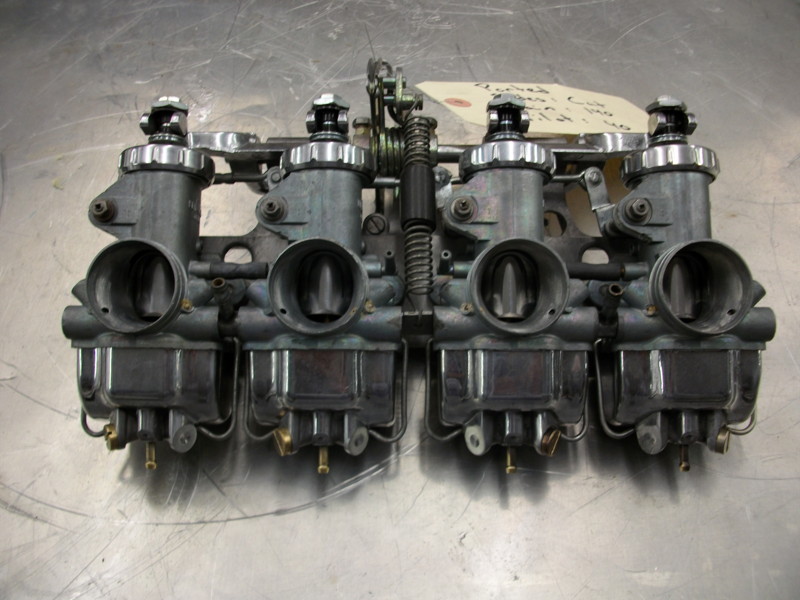
Many of the above modifications and cleaning tips also pertain to later model carburetors. However, there are some major differences between the early and late model carburetors. With late model carbs there is the addition of an accelerator pump. It is very important to be sure that the rubber components of the pump are in good working condition. Gas over time has a tendency to deteriorate these parts. When this pump is not working properly it will result in a lean condition when coming off idle resulting in poor throttle response. Also, many of these later model carbs do not have adjustable needles. In these cases we use needle shims to richen the fuel delivery (the carbs in the picture have had two purple shims installed for a total of 0.040".) These later model carbs also have pressed in pilot jets. However, they are removable and we recommend that you do to ensure proper cleaning. By cutting the slides it is possible to make low end jetting adjustments that can not be made with the non-replaceable stock jets.
|
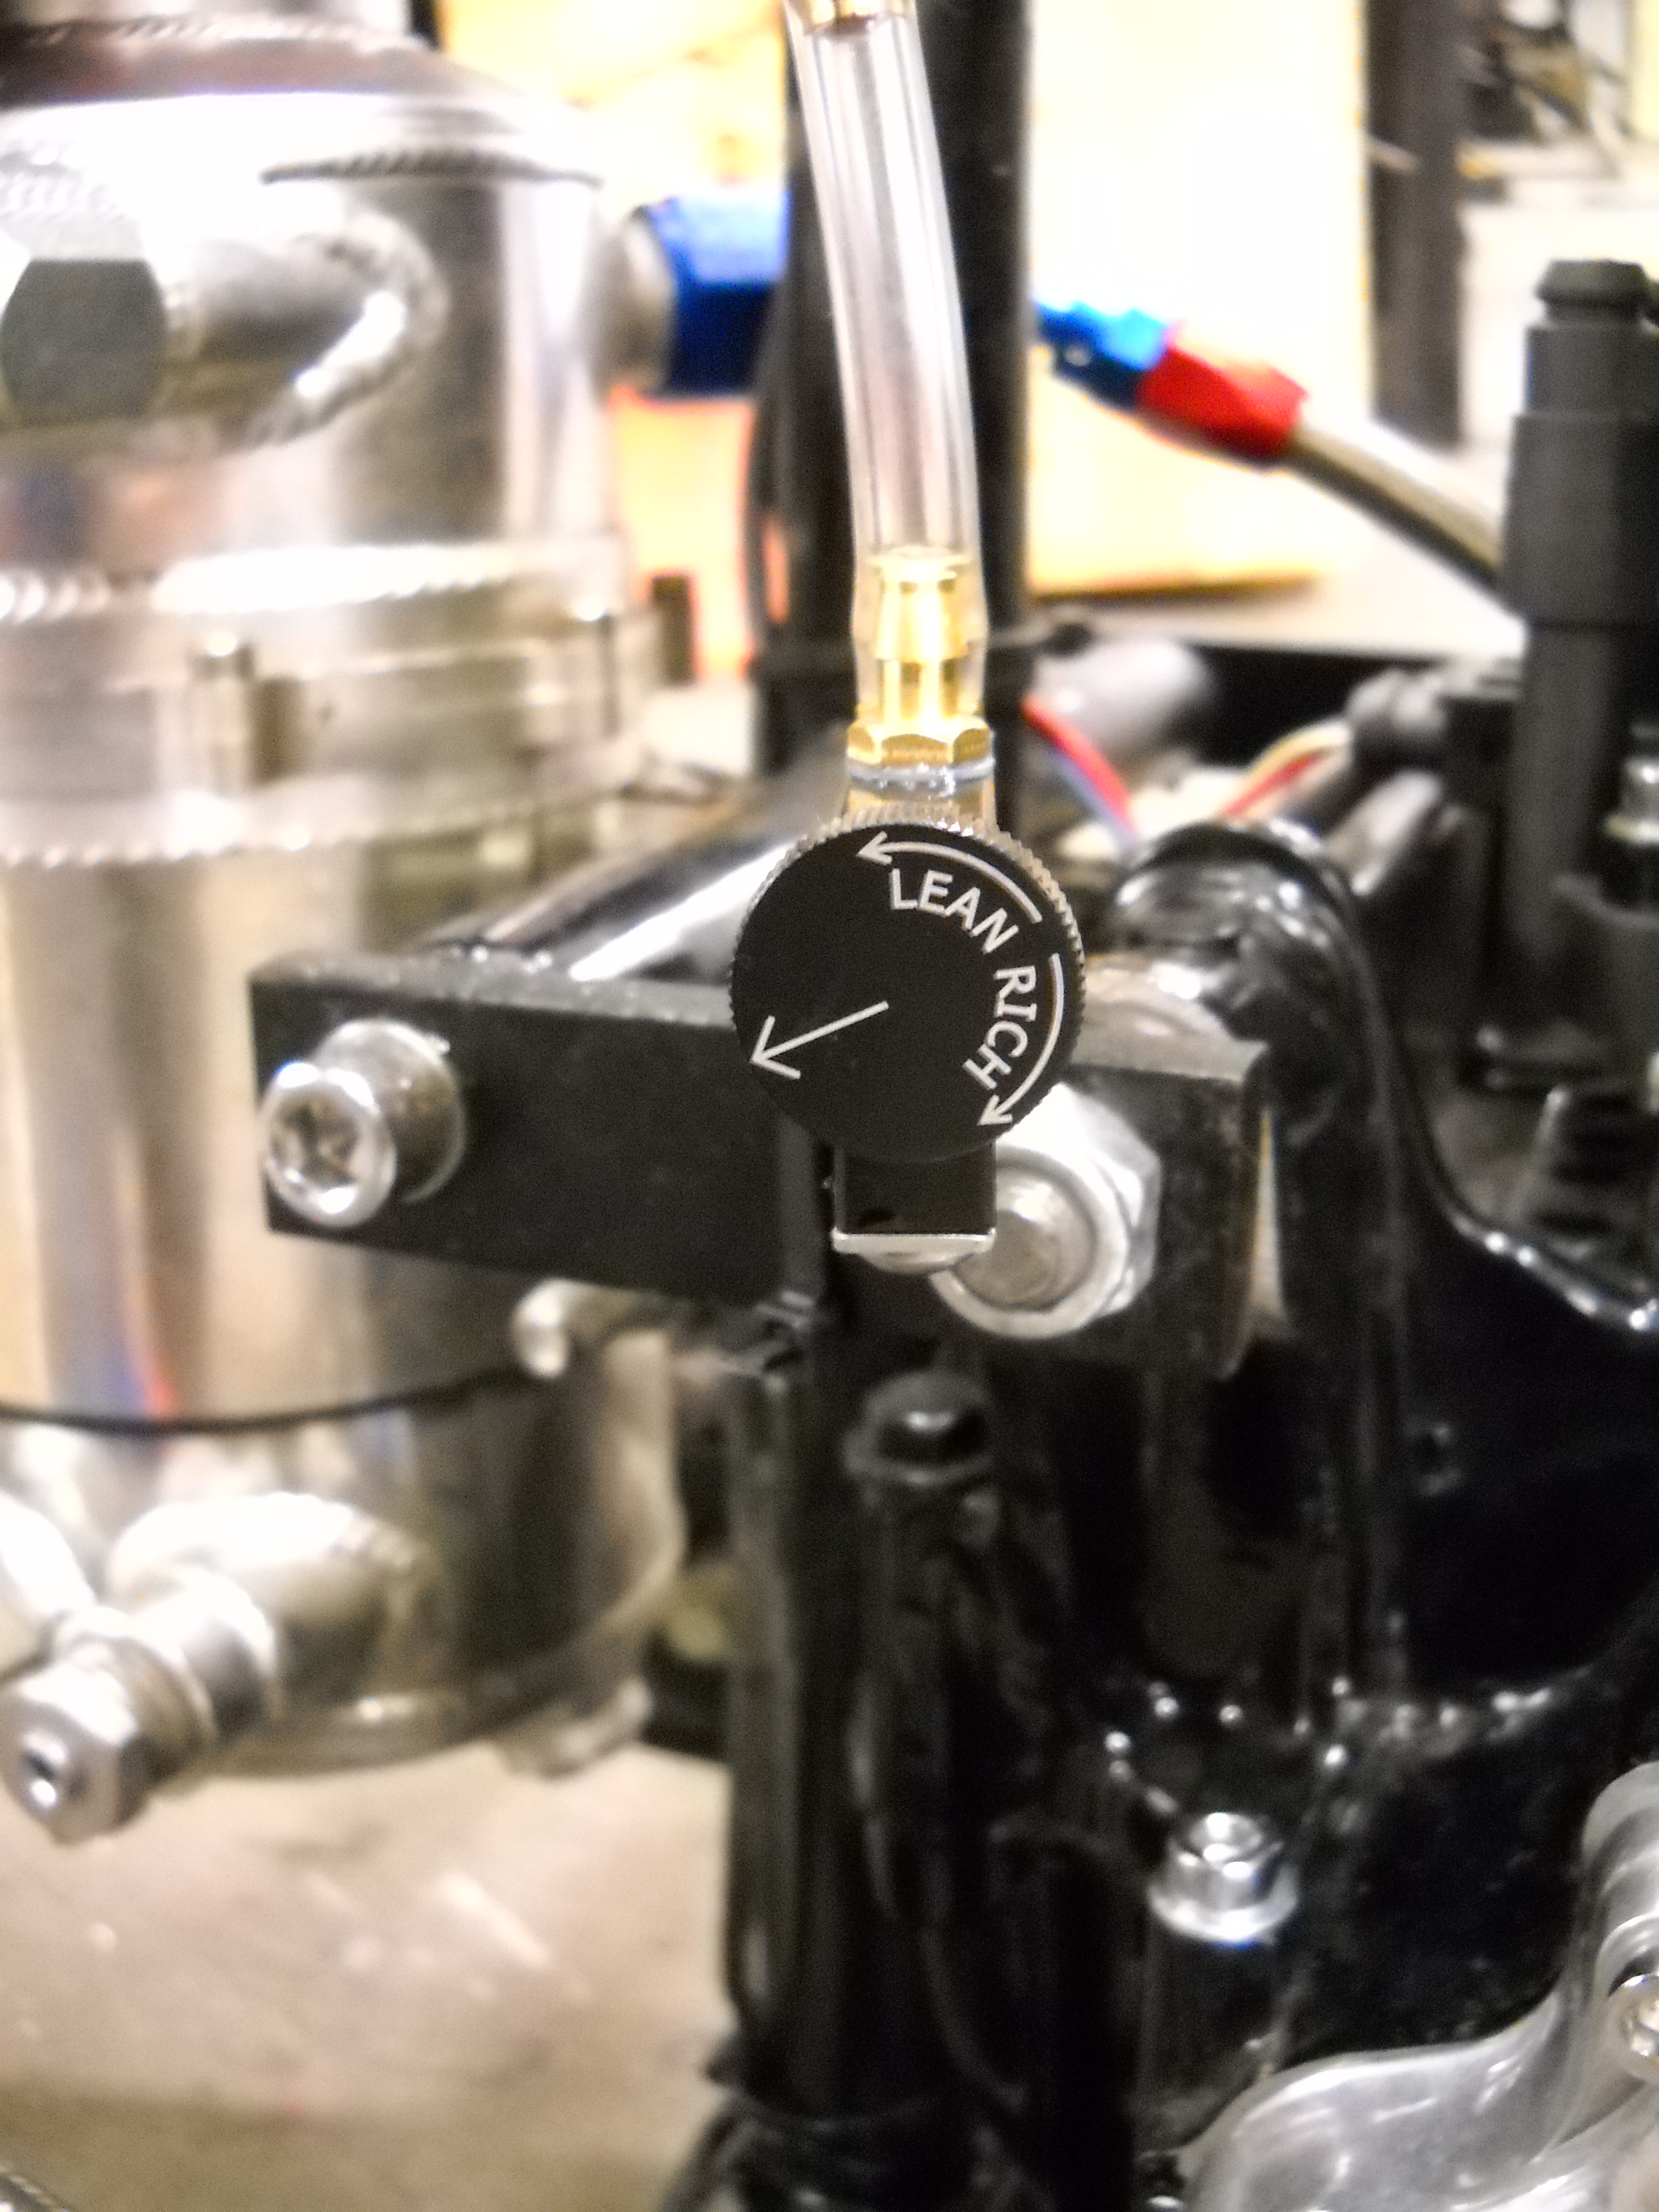
Jetting on the Fly!

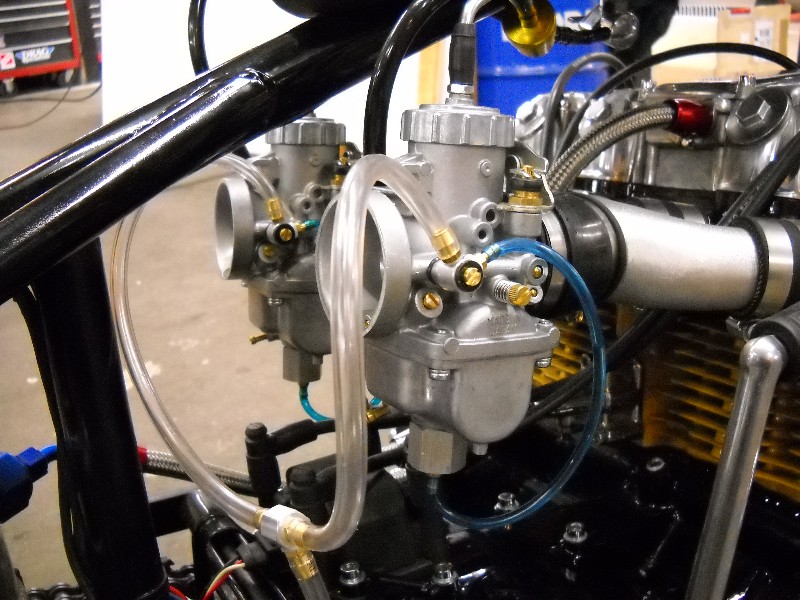

This extra gas circuit has many
benefits.
Completely adjustable external jetting system.
Delivers pre-atomized (vaporized) fuel for maximum horsepower.
Has enough external adjustability for any altitude, temperature or engine
modifications.
Float levels can be checked at a glance.
* Fast and easy tuning
* Increases horsepower
* Improved fuel efficiency
* Quicker throttle response
* Billet aluminum construction
* Delivers pre-atomized fuel to the engine
* Has no moving parts or electronics to fail
* Compensates for altitude and temperature
TESTING, TESTING,
TESTING...
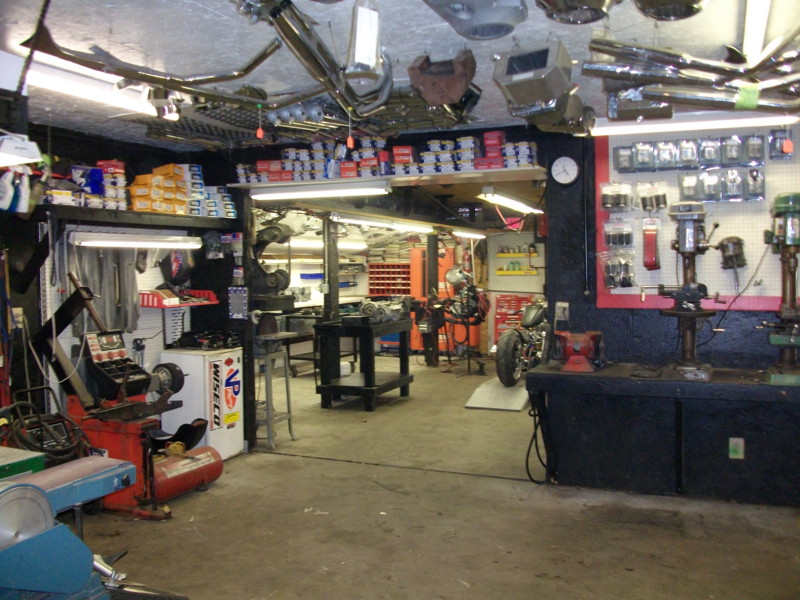
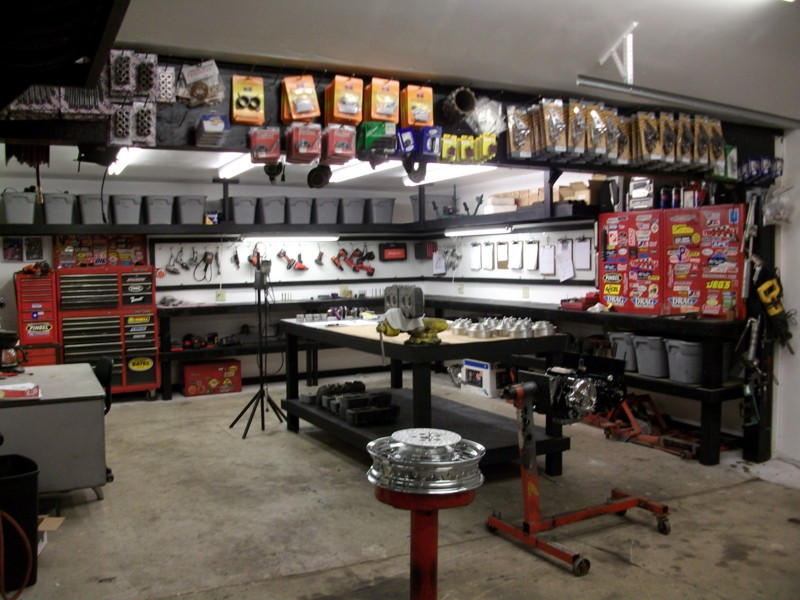
After motors are modified or rebuilt we test them on our engine stand.
The test stand can check charging systems, oil systems etc. Valves and cam
chains are reset after running so everything is perfect.
The test stand has a special feature. We have a separate oil tank that is
pressurized with air which forces oil into the important oil cavities for
initial start up. After the motor develops its own oil pressure this pressurized
tank is shut off. (Cool, eh?) This feature is very important because of obvious
reasons.
HONDA SOHC MOTOR WORK
This section will show you step by step
how to build your motor. We will have two versions of a rebuild : Full mod - but streetable, and stock - but more aggressive.
This section is long over due but worth the wait! Ken will be working on this for the rest of the week, so check
back.
Performance
gains can be made with out complete motor tear down and without some
expensive reinforcement of motor components.
Because we like the power potential of Honda SOHC's and we like to drive fast so
we
will start this motor section with our recommended high performance upgrades.
Before we go any further, Some motors we have seen have led a hard life. If you
have a motor that has never had a oil change and has been abused for 30+
years find a new one. If your crank journals are worn or scuffed and every gear
and bearing is unusable, things can get to expensive.
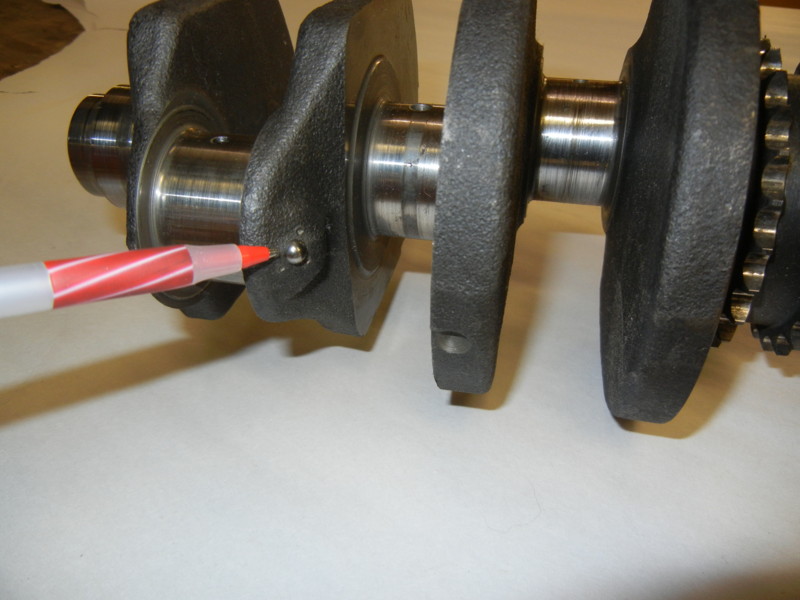
Crankshafts
are lightened, Balanced,
micro polished and fluted for oil flow. This procedure will give you very
noticeable acceleration and rev potential. Any loss of flywheel effect will be compensated
by your big bore kit. (balanced for sustained 14,000 rpm)
Pistons
are balanced perfect. (We will talk about pistons later)
Nearly every high performance builder or catalog from the 70's talks
about heavy duty connecting rods.


Rod
bearings
and main bearings need be checked
for proper clearance. This is done with Plastigage.
Honda factory manuals are best for this procedure.
After bearings are checked and addressed as necessary, clean thoroughly. Cleanliness is next to
godliness.
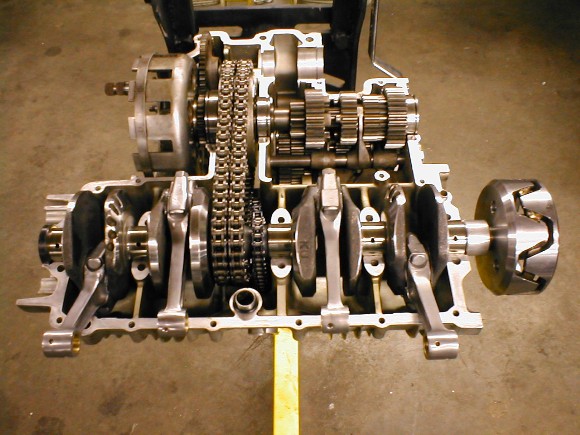
Notice the new primary chains and heavy duty cam chain.
TIP: Soak chains in oil overnight so the oil penetrates the links (They last
longer).
Get an accurate torque wrench and proceed to assemble your bullet proof
crankshaft.
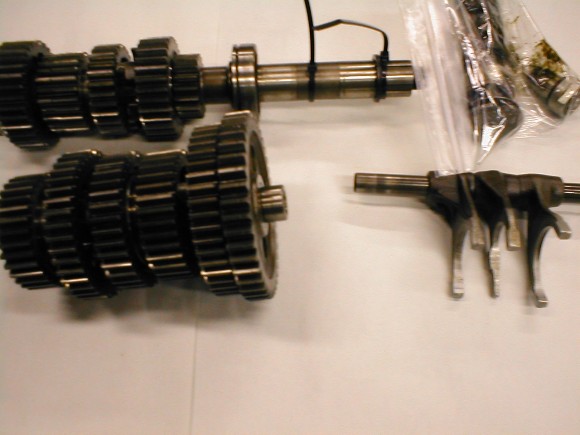
Transmission
is now inspected thoroughly.
(Gears, forks, shift drum)
The only problem experienced with the Honda transmission is they will jump out
of third gear.
Modified Honda motors must have the third and forth gears removed and
undercut. This undercut procedure will insure the trans will lock in gear with
no chance of jumping out of gear.
TIP: During inspection of the trans, blued shift forks are
a obvious sign there is a problem. Keep in mind that the shift forks move gears,
not hold gears in place.
CLUTCH Plates
are soaked in oil with the chains.


CYLINDER studs
(heavy duty) are installed. We install these heavy duty studs
on all motors (even stock motors).
SEALS are installed.
GASKET SEALER. We only use ThreeBond 1104 sealer for case halves. Please do not
use silicone sealer.

CAMSHAFTS:
Stock motors can benefit from a mild
camshaft, power increases will be noticeable and you will not need to be concerned
about piston to valve intersection. Springs will also not be needed. We like a mild road-race cam used on small tracks. Call
for specifies cam profile. Hotter cams will need valve relief (piston's)
heavy duty springs, etc.
Cams, can and should be chosen for specific styles of riding. High RPM cams have
more duration.
More duration will generally give you more top end power but you might
loose some power at low RPM. Choose your cam accordingly.
Camshafts are a touchy subject and should be selected by someone with
experience.
OK, here's your tech tip:
Degree-ing your new camshaft can mean up to a half a second on the drag strip.
Just like your rear chain, cam chains stretch. This means that if you install
your camshaft with a stretched chain and do not degree properly, you have just
wasted your time.
Some people years ago would even grind their stock camshaft sprocket (oblong the
mounting holes) and bump the cam back to stock spec's to compensate for cam
chain stretch. (noticeable difference)
For really aggressive profiles, welded then reground camshafts are more durable
than billet shafts.
When we install a full race camshaft in this motor, we will show you how to
degree a cam.
Freedom is the right to be wrong; not the
right to do wrong
John Diefenbaker (1895-1979)
Always remember that striving and struggle
precede success, even in the dictionary.
Sarah Breathnach (Writer)
The ultimate umpire of all things in life is, fact.
Agnes Laut (1871-1936)
Why not make the best of things? Any fool
can make the worst of them.
Charles Bromley
.JPG)


